Step-by-step guide
- Go to Linkscope Web application and if you're not already signed in, select Sign in.
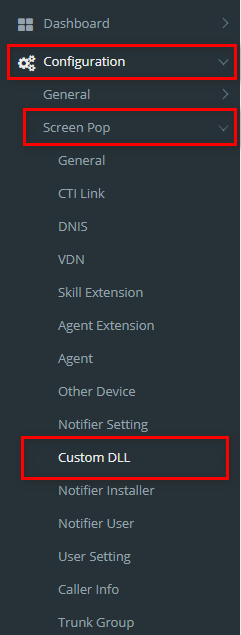
From the Linkscope Web application, you click to Configuration → Screen Pop→ Custom DLL at the menu.
ADD NEW A CUSTOM DLL FILE
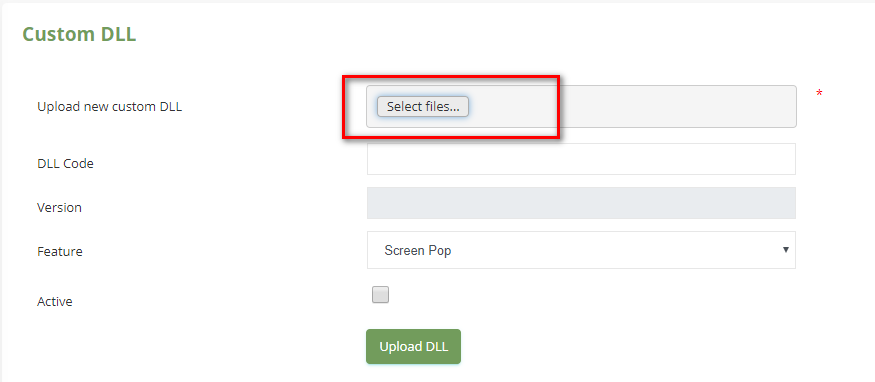
- On Upload new custom DLL label, click Select files button.
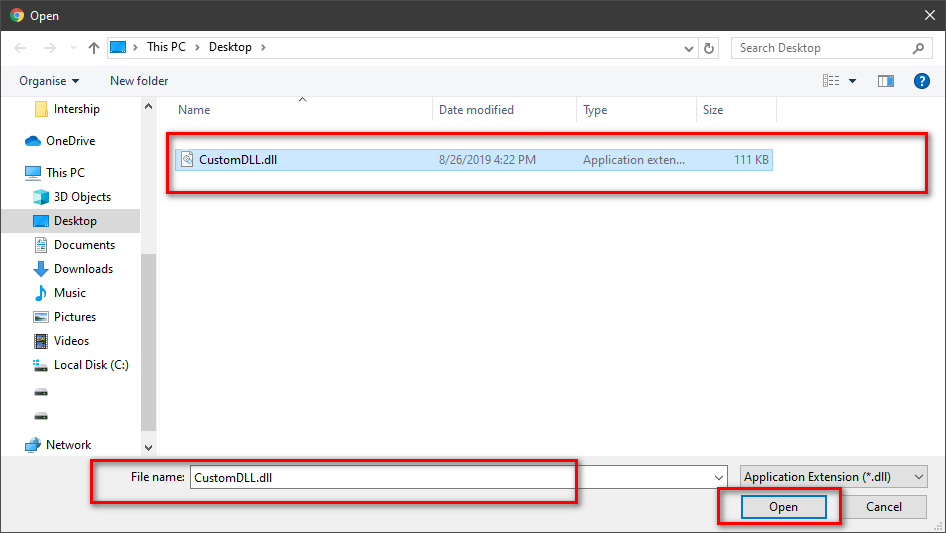
- Select a DLL file that you want to import and click Open button.
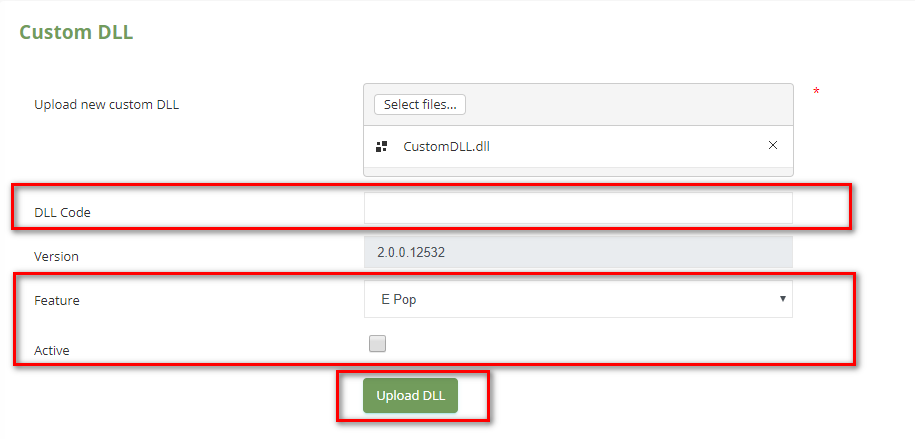
- You enter DLL Code (optional), select a Feature and check Active. Then click Upload DLL button.
If the system shows this message, you created successfully a DLL Custom.
INACTIVE/REACTIVE A DLL CUSTOM
- On Custom DLL table, select any row you want to Inactive/Reactive.

- Click
 button. If you want to Inactive that user. There're alert displays after you click to this button. Select OK.
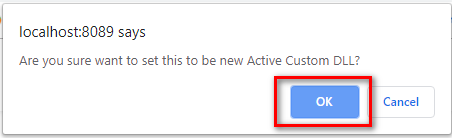
If you want to Reactive that user, click button. There're alert displays after you click to this button. Select OK.
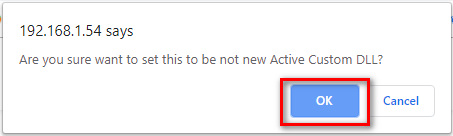
DELETE A DLL CUSTOM
- On Custom DLL table, select any row you want to delete the DLL Custom.
- Click
 button on that row.
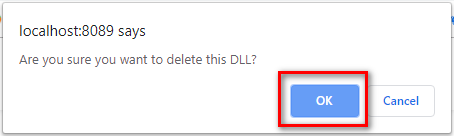
 - There're alert displays after you click to this button. Select OK.
If the system shows this message, you deleted successfully a DLL Custom file.
DOWNLOAD A DLL CUSTOM FILE
- On Custom DLL table, select any row you want to download the DLL Custom.
- Click
 button on that row.
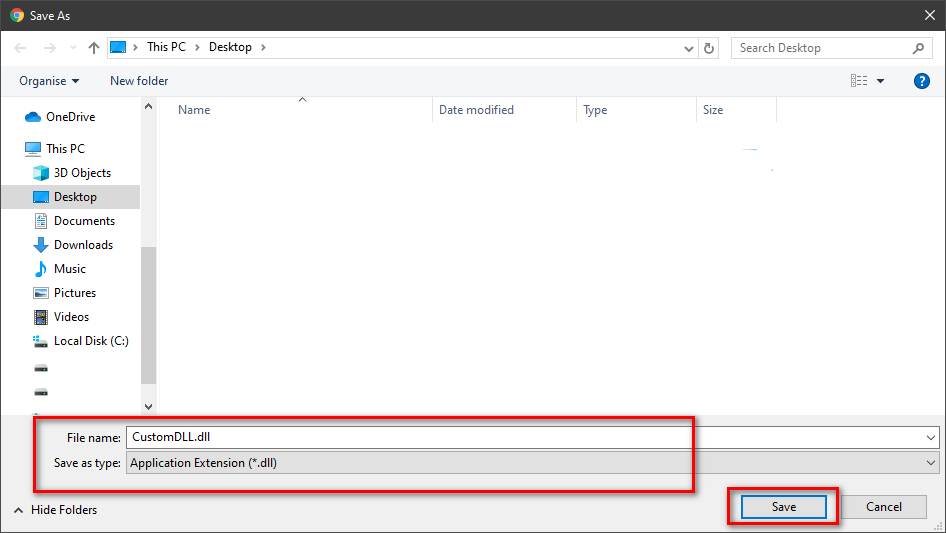
 - Check the File Name, Save as type (*DLL file). Then click Save button.
Related articles