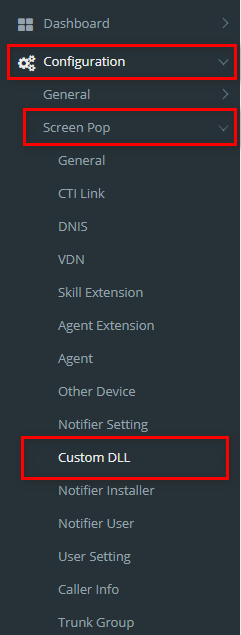
Describe when someone would need this information. For example "when connecting to wi-fi for the first time".
Step-by-step guide
ADD NEW A CUSTOM DLL FILE
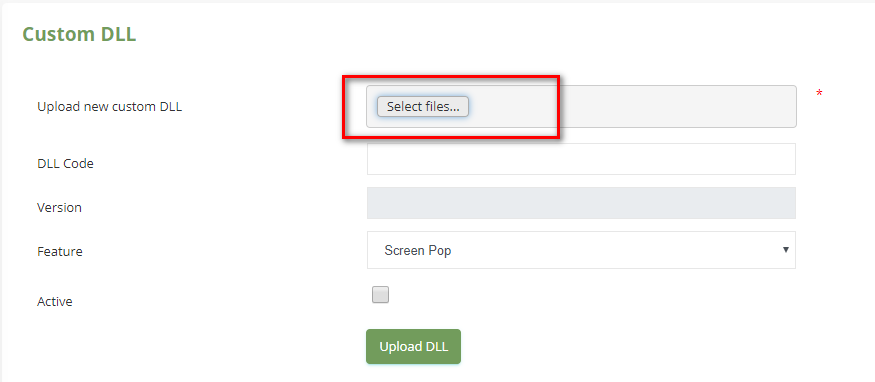
- On Upload new custom DLL label, click Select files button.
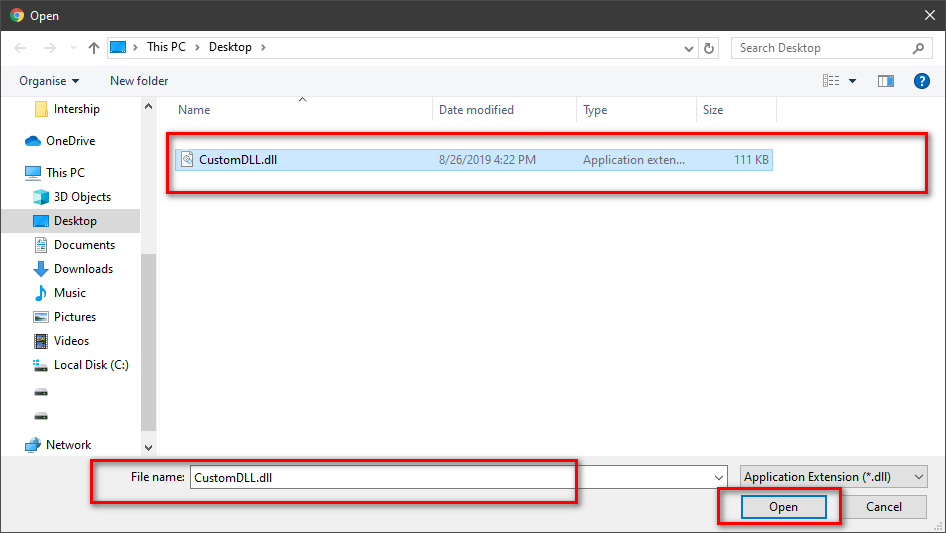
- Select a DLL file that you want to import and click Open button.
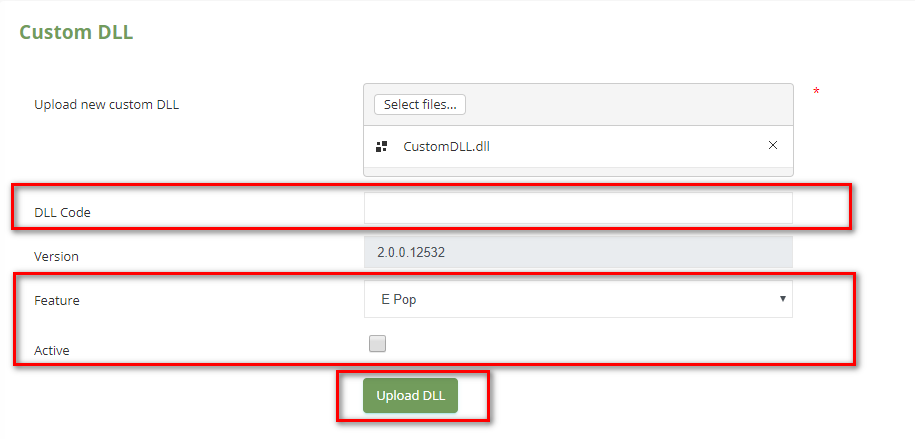
- You enter DLL Code (optional), select a Feature and check Active. Then click Upload DLL button.
If the system shows this message, you created successfully a DLL Custom.

INACTIVE/REACTIVE A DLL CUSTOM
- On Custom DLL table, select any row you want to Inactive/Reactive.

- Click
 button. If you want to Inactive that user. There're alert displays after you click to this button. Select OK.

If you want to Reactive that user, click  button. There're alert displays after you click to this button. Select OK.

DELETE A DLL CUSTOM
- On Custom DLL table, select any row you want to delete the DLL Custom.

- Click
 button on that row.
- There're alert displays after you click to this button. Select OK.

If the system shows this message, you deleted successfully a DLL Custom file.

DOWNLOAD A DLL CUSTOM FILE
- On Custom DLL table, select any row you want to download the DLL Custom.

- Click
 button on that row.
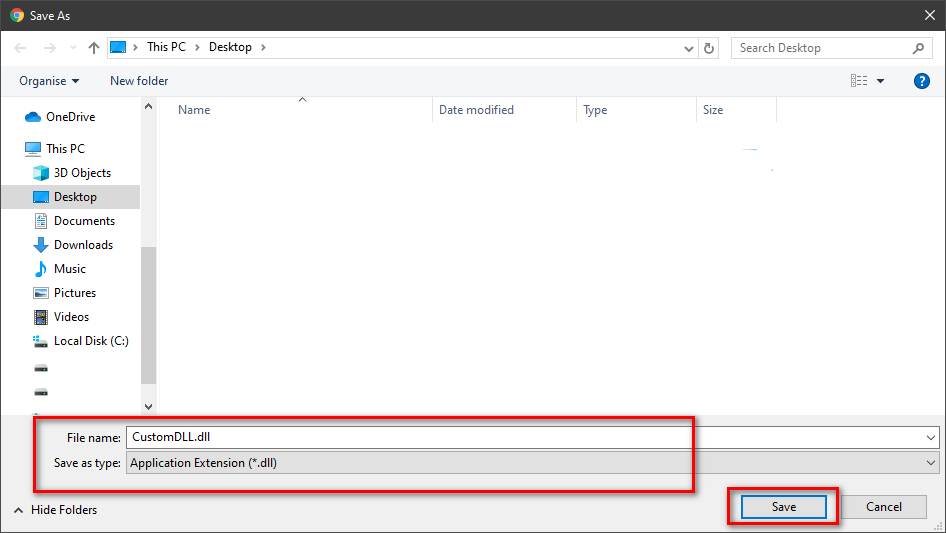
- Check the File Name, Save as type (*DLL file). Then click Save button.
| You may also want to use visual panels to communicate related information, tips or things users need to be aware of. |
Related articles
Related articles appear here based on the labels you select. Click to edit the macro and add or change labels.

