Step-by-step guide
- Go to Linkscope Web application and if you're not already signed in, select Sign in.
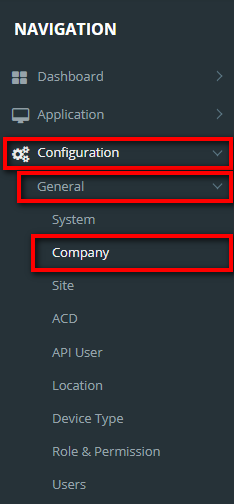
From the Linkscope Web application, you click to Configuration → General → Company at the menu.
ADD NEW A COMPANY
If the creator is the administrator who is not assigned to any company, display button to create a new company.
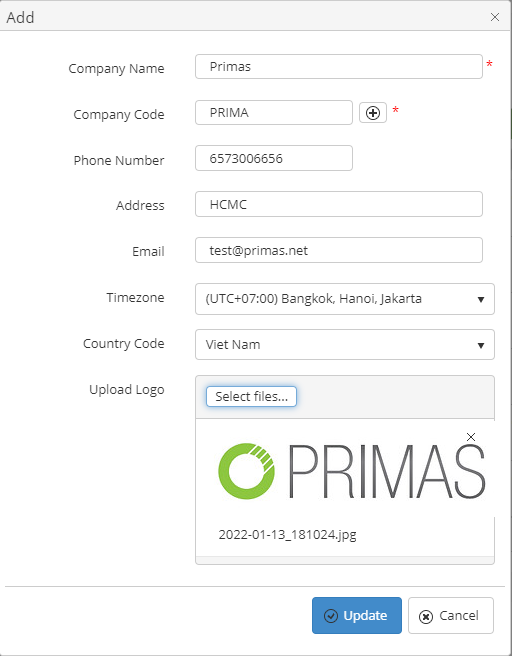
Click button, the Add popup is displayed.
- At the Add popup, enter your information into the textbox. Then click the Update button.
- You can clickbutton to generate an auto Company Code or enter Company Code (Min. 2 Chars - Max. 5 Chars) into the textbox.
If the system shows this message, you created successfully a company.
EDIT A COMPANY NAME
- On Company List table, select any row you want to edit the company name.
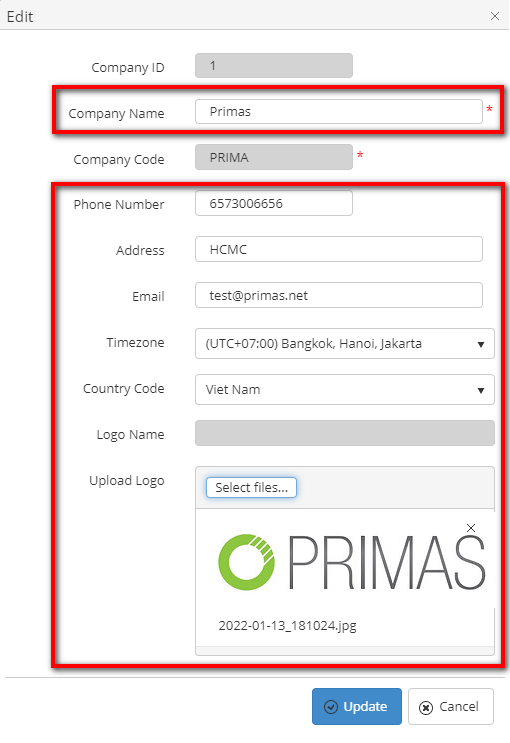
- Click button on that row. The Edit popup is displayed.
- At Edit popup, modify the Company Name, Phone Number, Address, Email, Timezone, Country Code and Upload Logo into the textbox. Then click the Update button.
If the system shows this message, you edited successfully a company.
DELETE A COMPANY NAME
- On Company List table, select any row you want to delete the company.
- Click button on that row.
- There're alert displays after you click to this button. Select OK.
If the system shows this message, you deleted successfully a company.
SEARCH A COMPANY
On the Company List table. You can search for a Company by searching the Company Name, Company Code, Phone Number, Address, Email, Timezone, Country Code or Logo field.
- Search by the Company Name field:
2. Search by the Company Code field:
3. Search by the Phone Number field:
4. Search by the Address field:
5. Search by the Email field:
6. Search by the Timezone field:
7. Search by the Country Code field:
8. Search by the Logo field:
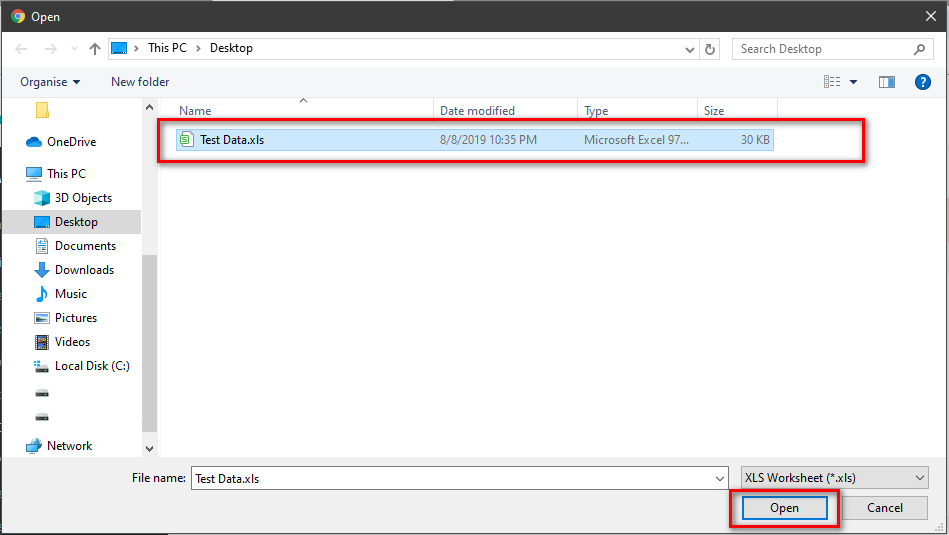
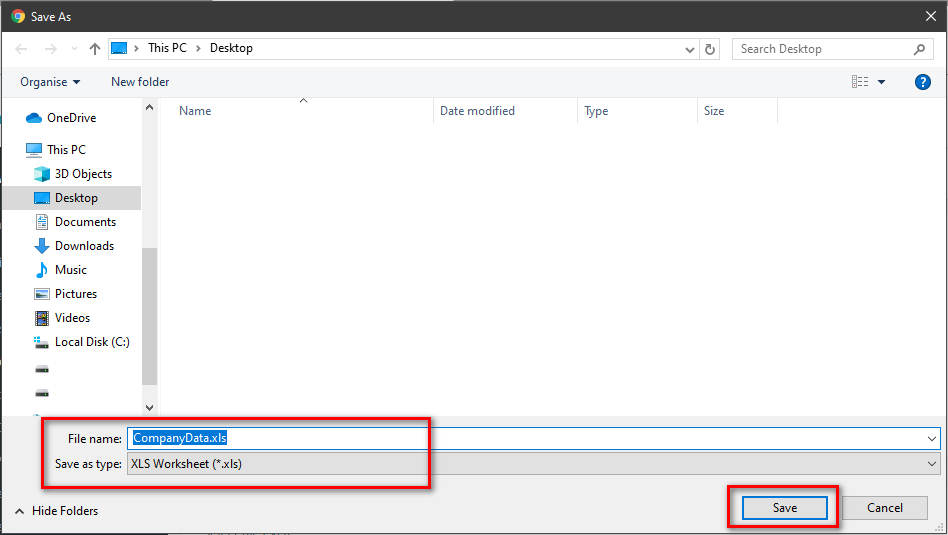
IMPORT FROM/ EXPORT TO AN EXCEL FILE
Note
Hide Import/ Export/ Add Company feature if the logged-in user is assigned to a company.
Related articles
