Step-by-step guide
- Go to Linkscope Web application and if you're not already signed in, select Sign in.
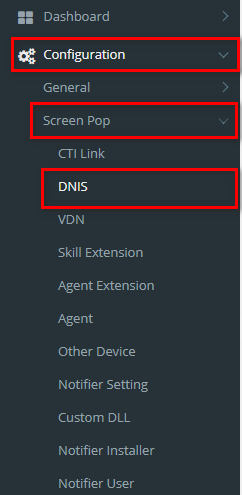
From the Linkscope Web application, you click to Configuration → Screen Pop→ DNIS at the menu.
ADD NEW A DNIS
- Click
 button, the Add popup is displayed.
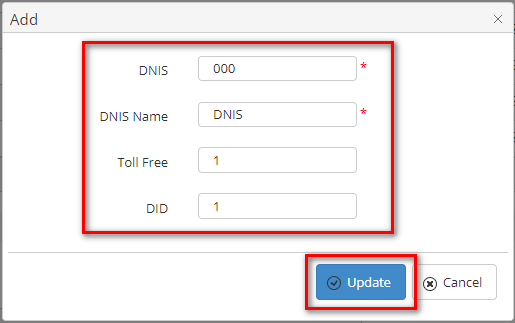
 - At the Add popup, you enter DNIS, DNIS Name, Toll Free, DID into the textbox. Then click the Update button.
If the system shows this message, you created successfully a DNIS.
EDIT A DNIS
- On the DNIS List table, select any row you want to edit the DNIS.

- Click
 button on that row. The Edit popup is displayed.
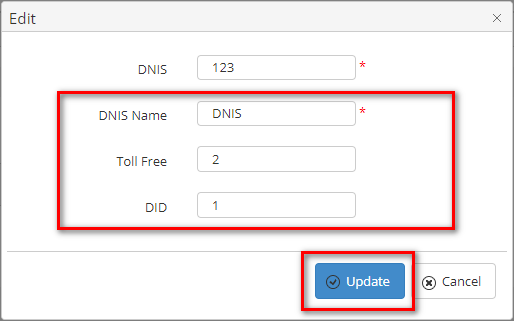
 - At Edit popup, you modify new DNIS Name, Toll Free, DID into the textbox (can't edit DNIS). Then click the Update button.
If the system shows this message, you created successfully a DNIS.
DELETE A DNIS
- On the DNIS List table, select any row you want to delete the DNIS.
- Click
 button on that row.
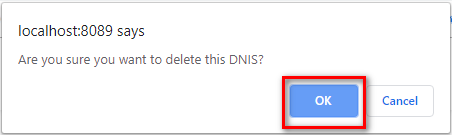
 - There're alert displays after you click to this button. Select OK.
If the system shows this message, you deleted successfully a DNIS.
SEARCH A DNIS
On the DNIS List table. You can search for a Site by searching the DNIS, DNIS Name, Toll Free, DID field.
- Search by the DNIS field:

- Search by the DNIS Name field:

- Search by the Toll Free field:

- Search by the DIDfield:

Note:
For better searching, you can fill all given fields: the DNIS, DNIS Name, Toll Free, DID field.
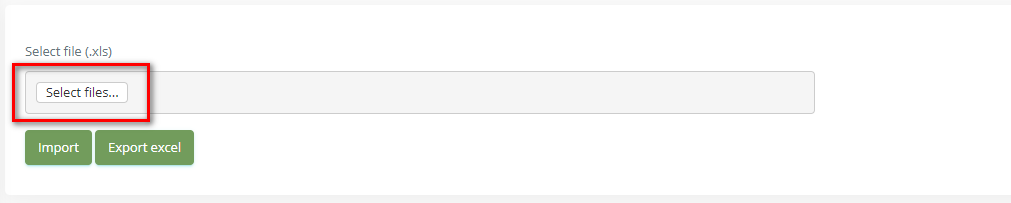
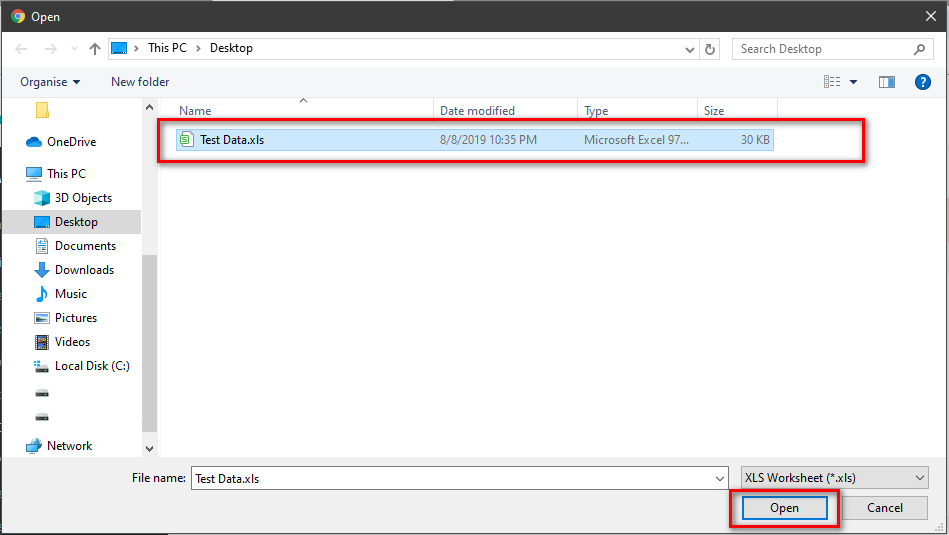
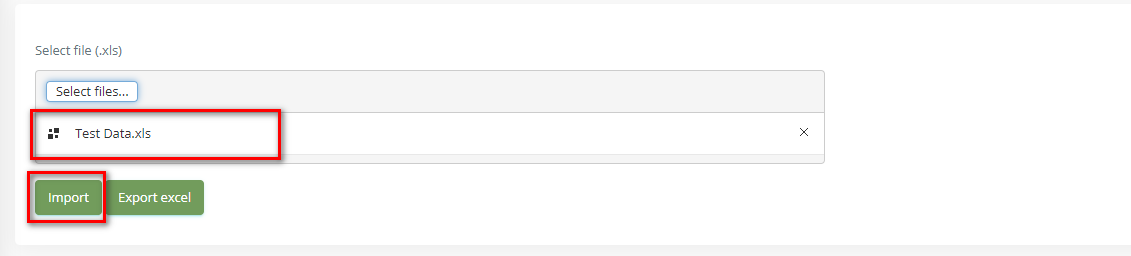
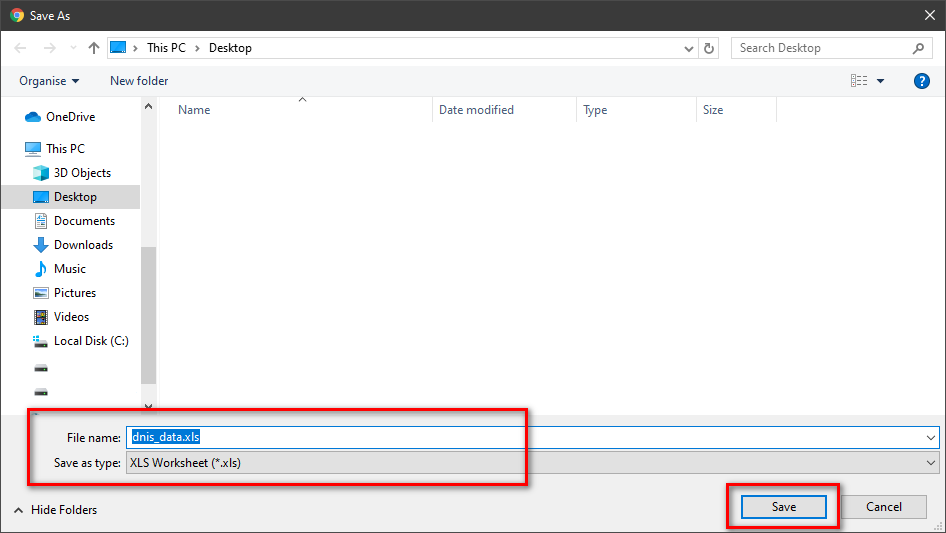
IMPORT FROM/ EXPORT TO AN EXCEL FILE

Related articles