Step-by-step guide
- Go to Linkscope Web application and if you're not already signed in, select Sign in.
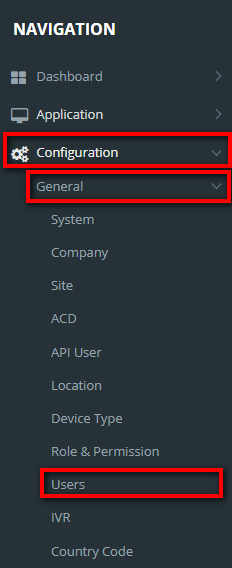
From the Linkscope Web application, you click to Configuration → General → Users at the menu.
ADD NEW A USER
- Click
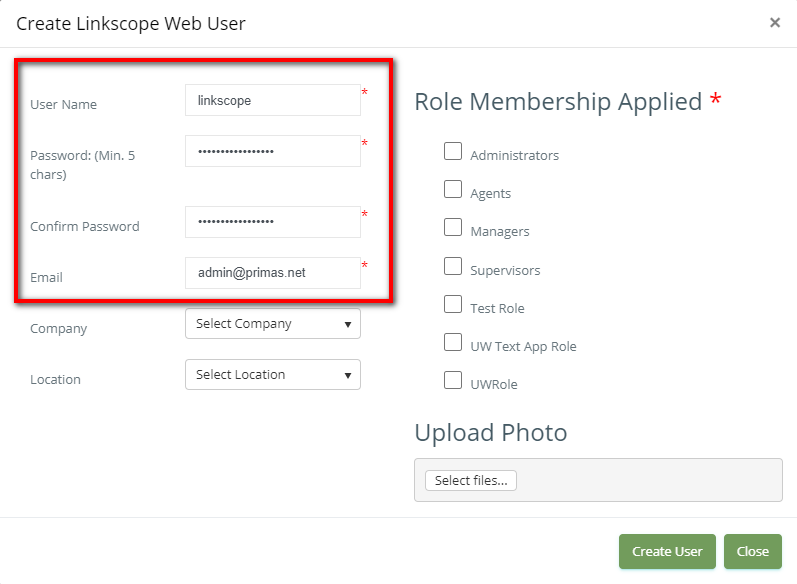
 button, the Create Linkscope Web User popup is displayed.
 - At the Create Linkscope Web User popup, you enter UserName, Password (Min 5 Chars), Confirm Password, Email.
4. Next, select location and set the role for Membership Applied Role.
If the creator is assigned to a company, the list of roles/locations only displays the roles/locations that belong to the same company.
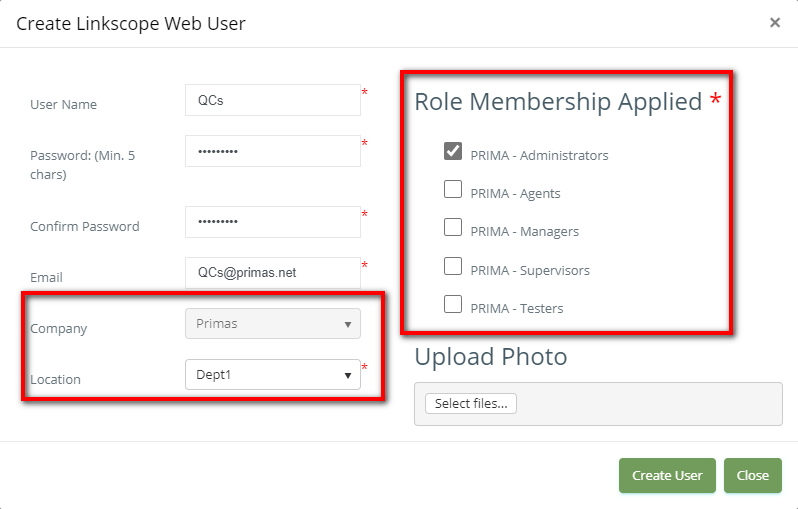
If the creator is the administrator who is not assigned to any company, display two dropdowns for the admin to select a company and location:
- If not select company, display General roles only.
- If the selected company is not the default company, display all roles/locations that belong to the same company.
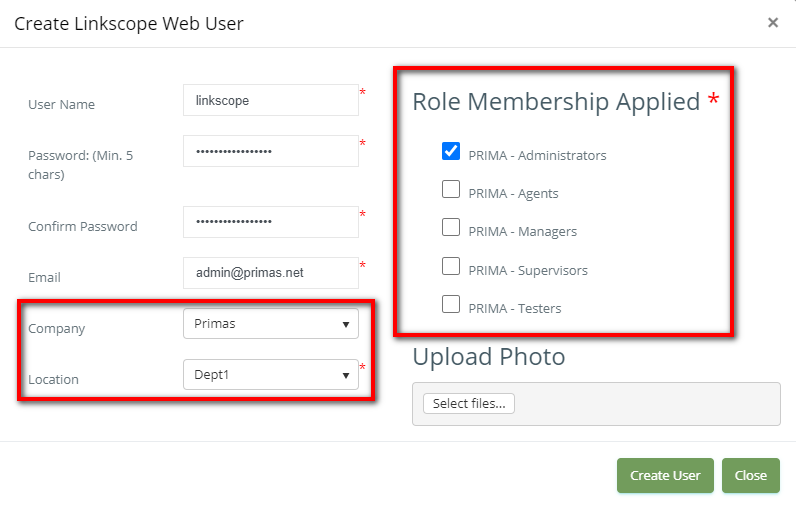
5. Final, click Create User button.
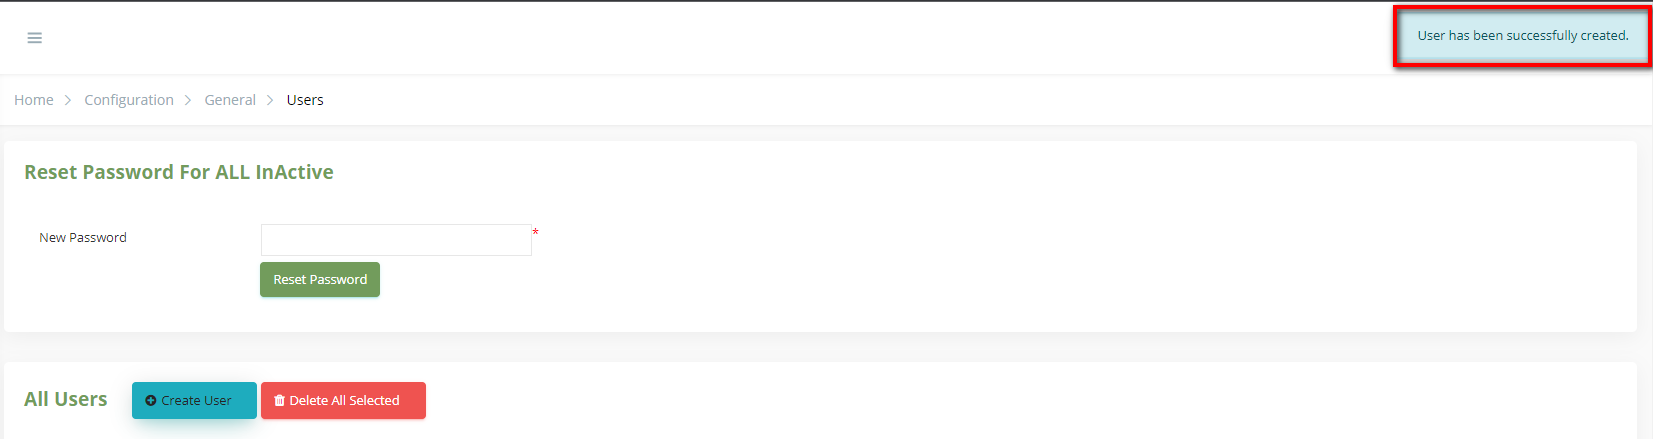
If the system shows this message, you created successfully a new user.
EDIT A USER
To prevent a user from logging into the Linkscope Web application, you can change the user's status to Inactive. You can reactive an inactive user at any time without the need to re-enter user details.
- On the All Users table, select any row you want to Inactive/Reactive.

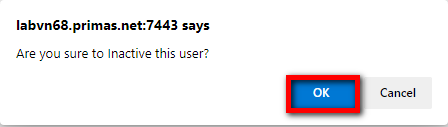
2. Click ![]() button. If you want to Inactive that user. There're alert displays after you click to this button. Select OK.
button. If you want to Inactive that user. There're alert displays after you click to this button. Select OK.
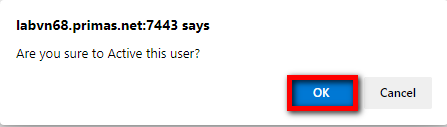
If you want to Reactive that user, click ![]() button. There're alert displays after you click to this button. Select OK.
button. There're alert displays after you click to this button. Select OK.
3. Then the system shows this message, you changed successfully the user's status.

Lock/ Unlock a user
When users enter the wrong password more than 3 times, this user's account will be a lock. Or to temporarily prevent a user from logging into the Linkscope Web application, you can change the user's status to Lock. You can unlock a locked user at any time without the need to re-enter user details.
- On the All Users table, select any row you want to lock/unlock the user account.

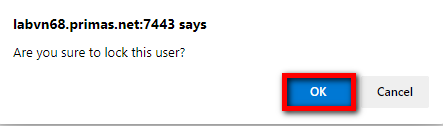
2. Click ![]() button. If you want to Lock that user on that row. There're alert displays after you click to this button. Select OK.
button. If you want to Lock that user on that row. There're alert displays after you click to this button. Select OK.
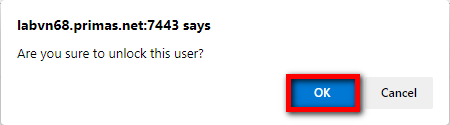
If you want to Unlock that user, click ![]() button on that row. There're alert displays after you click to this button. Select OK.
button on that row. There're alert displays after you click to this button. Select OK.
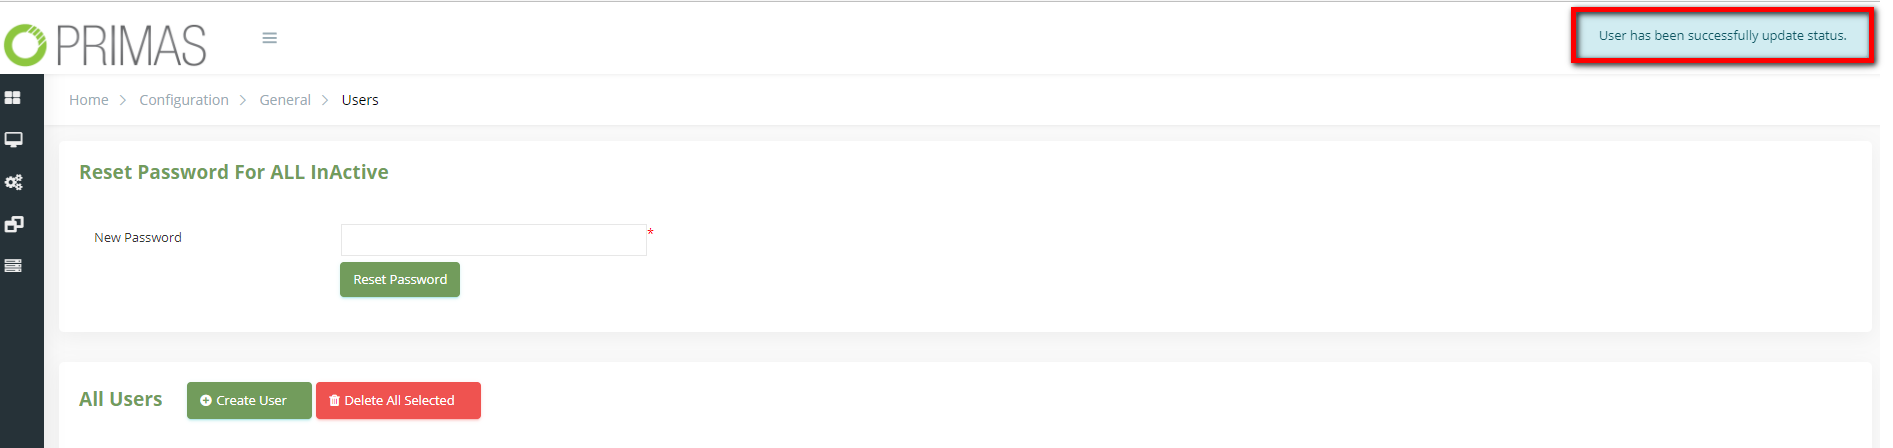
3. Then the system shows this message, you changed successfully the user's status.
- At All User table, select any row you want to set a new user's role.

2. Click ![]() button on that row, Set Role popup is displayed.
button on that row, Set Role popup is displayed.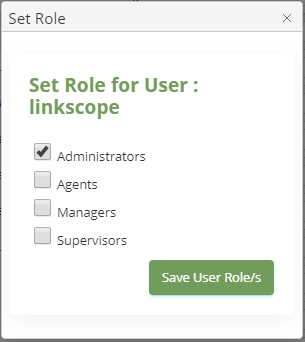
3. On the Set Role popup, set the new role or add a new role for your user by clicking to the select box.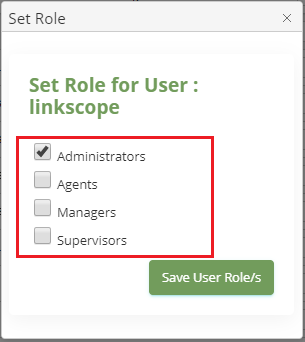
4. Then click to Save User Role/s button to save you the select setting.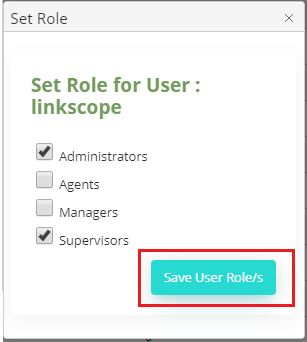
If the system shows this message, you set successfully a user's role.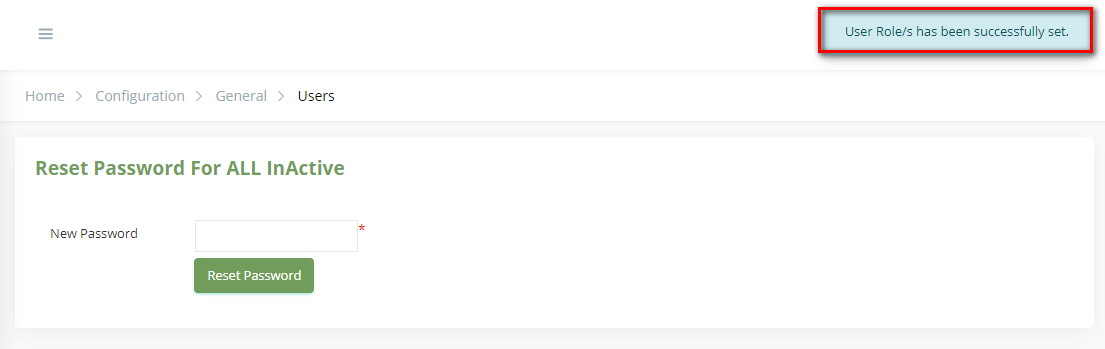
Change a user's password
You can change your user's account password from the Linkscope Web application. If you do not know your user's account password, you cannot change the password.
1. At the All Users table, select any row you want to change a new password.

2. Click ![]() button on that row. Edit popup is displayed.
button on that row. Edit popup is displayed.
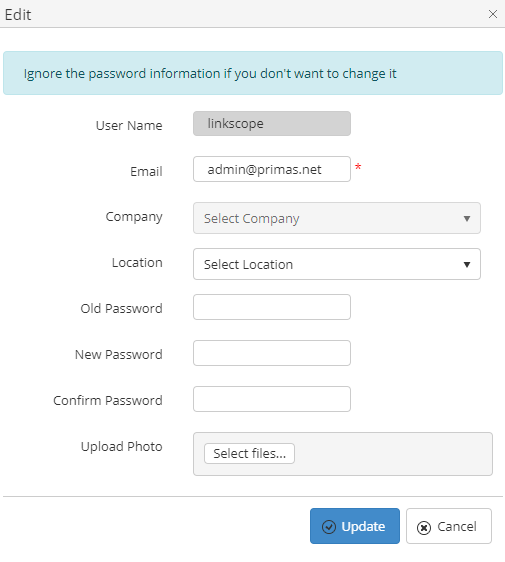
3. On the Edit popup, you enter Old Password and New Password, Confirm Password into the textbox.
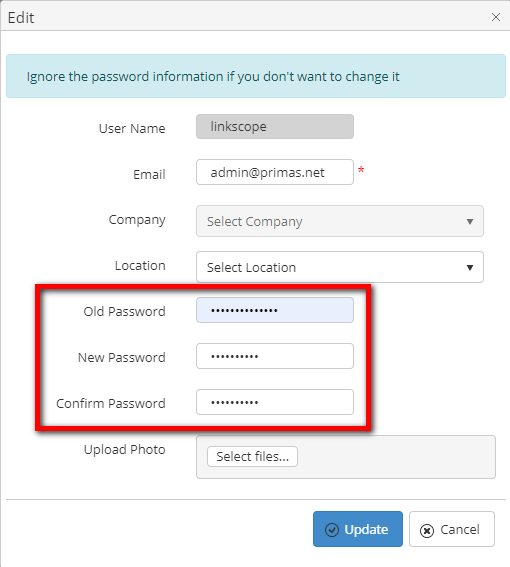
4. Then click to Update button.
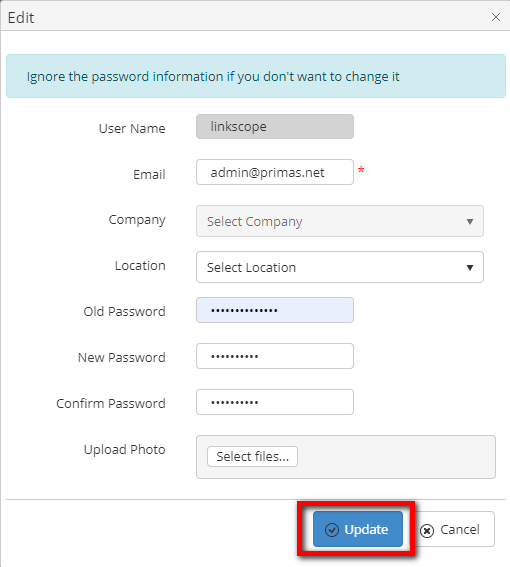
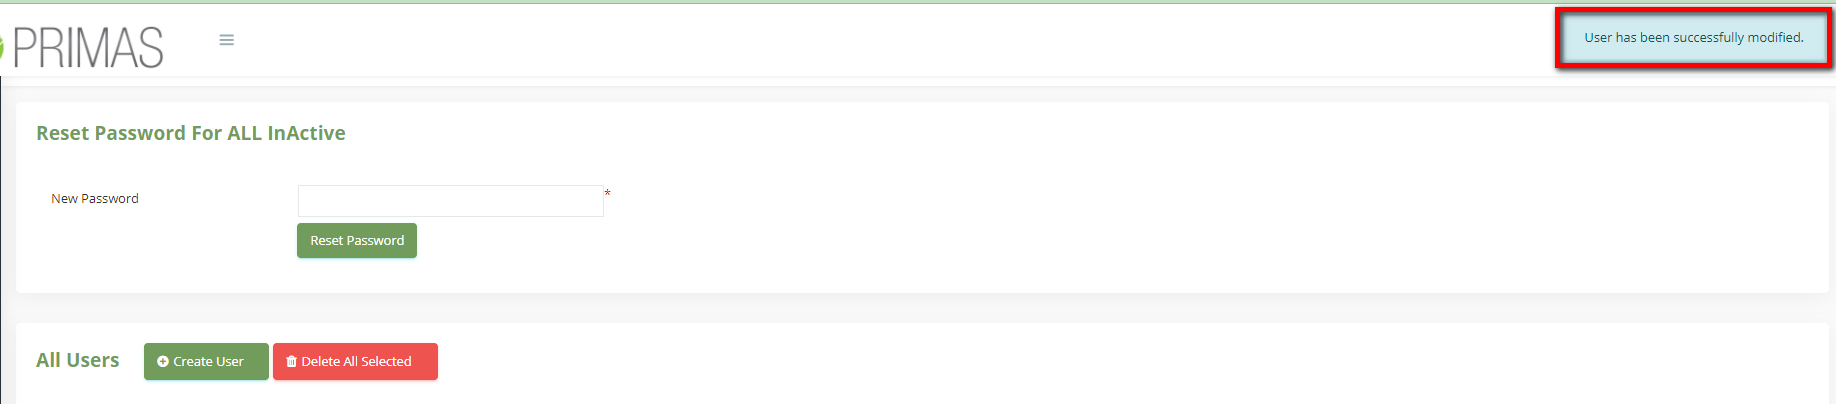
If the system shows this message, you change successfully a new user's password.
Reset the user's password
If a user forgets the password login to service or if you think their account has been compromised, you can reset their password from the Linkscope Web application.
- At All Users table, select any row, you want to reset the password.

- Click
 button. There're displays a dialog for the user to enter the new password after you click to this button.
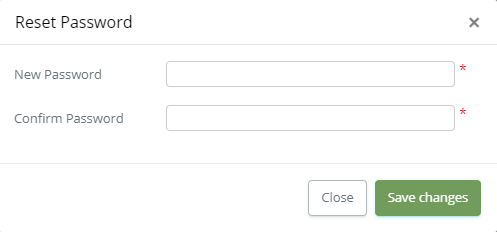
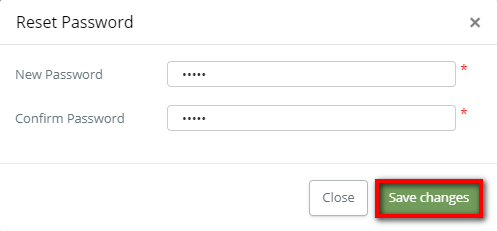
- At the Reset Password dialog, you enter New Password (Min. 5 Chars - Max. 30 Chars ), Confirm Password.
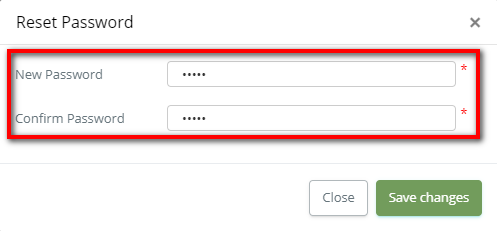
5. Select Save Changes.
If the system shows this message, you reset the password successfully.

On the All User table. You can search for a User by searching the User Name, Email Address, Role/s, Active or User Status field.
1. Search by the User Name field:

2. Search by the Company field:

3. Search by the Location field:

4. Search by the Email Address field:
Search by the Role/s field:
6. Search by the User Status field:
Note:
For better searching, you can fill all given field: the User Name, Email Address, Role/s, Active or User Status field.
Related articles