Step-by-step guide
- Go to Linkscope Web application and if you're not already signed in, select Sign in.
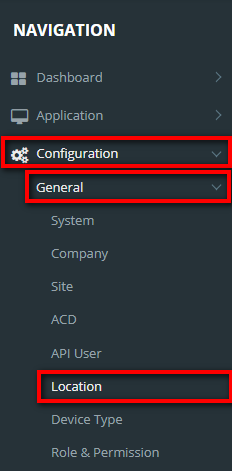
From the Linkscope Web application, you click to Configuration → General → Location at the menu.
ADD NEW A LOCATION
Click
 button, the Add popup is displayed.
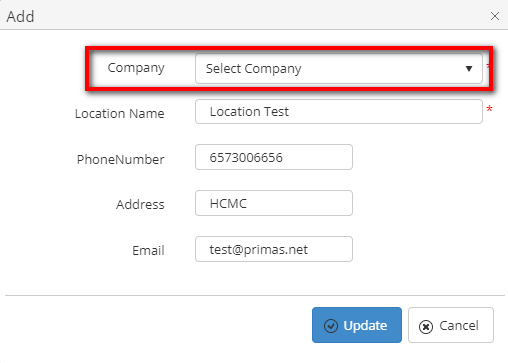
- At the Add popup, select Company. Next, enter your Location Name, Phone Number, Address and Email into the textbox.
Note:
- If the creator is the administrator who is not assigned to any companies, display a dropdown for the admin to select a company for location.
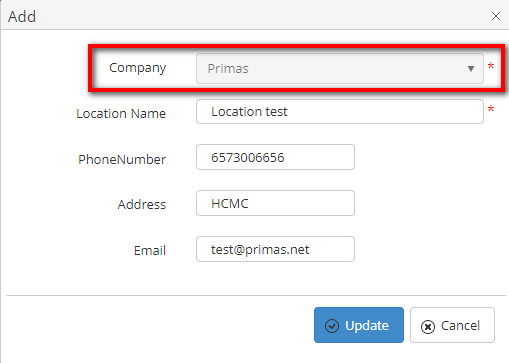
- If the creator is assigned to a company, assign the company of creator for this location.
3. Then click the Update button.
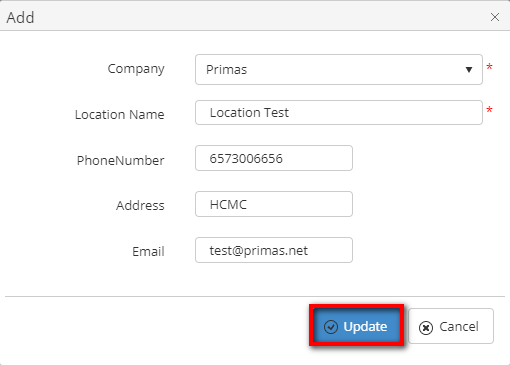
If the system shows this message, you created successfully a location.

EDIT A LOCATION
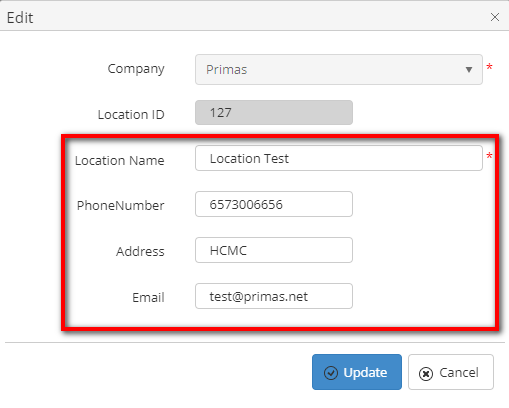
- On the Location List table, select any row you want to edit the Location Name, Phone Number, Address or Email.
2. Click ![]() button on that row. The Edit popup is displayed.
button on that row. The Edit popup is displayed.
3. At Edit popup, modify your new Location Name, Phone Number, Address or Email into the textbox. Then click the Update button.
If the system shows this message, you edit successfully Location Name, Phone Number, Address or Email.

DELETE A LOCATION
- On the Location List table, select any row you want to delete the Location.

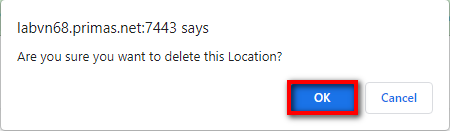
2. Click ![]() button on that row.
button on that row.
3. There're alert displays after you click to this button. Select OK.
If the system shows this message, you delete successfully a location.

SEARCH A LOCATION
On the Location List table. You can search for a Location by searching the Location Name, Phone Number, Address, Email or Company field.
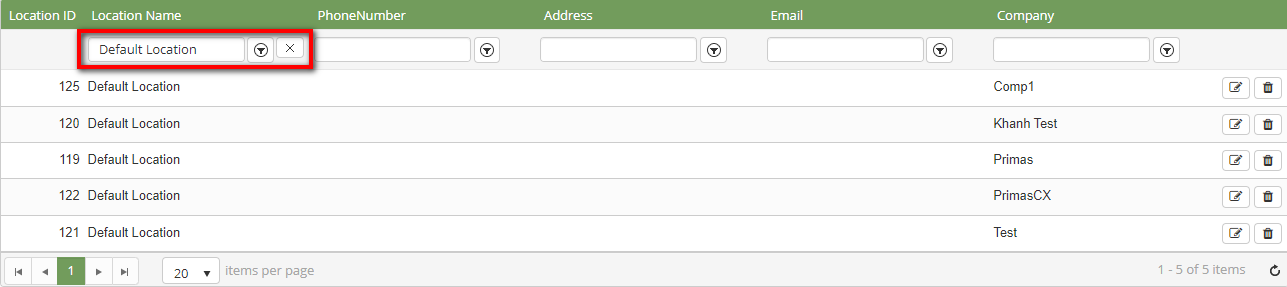
1. Search by the Location Name field:
2. Search by the Phone Number field:

3. Search by the Address field:

4. Search by the Email field:

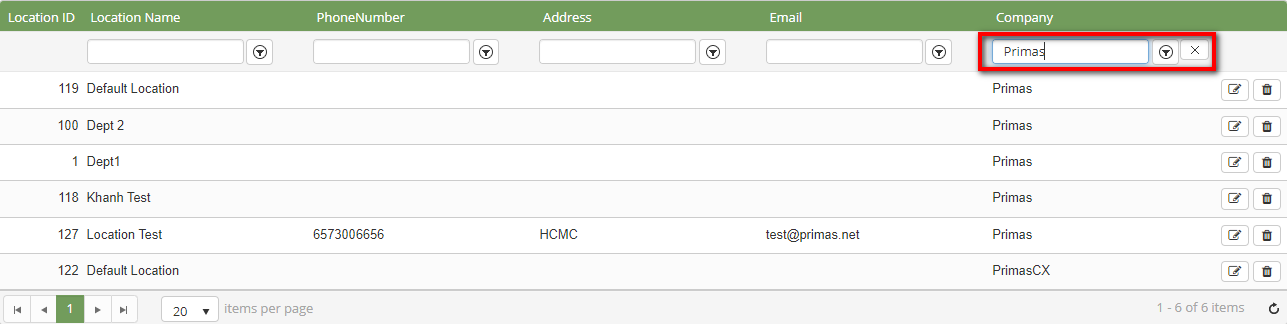
5. Search by the Company field:
Note:
For better searching, you can fill all given field: the Location Name, Phone Number, Address, Email or Company field.
IMPORT FROM/ EXPORT TO AN EXCEL FILE
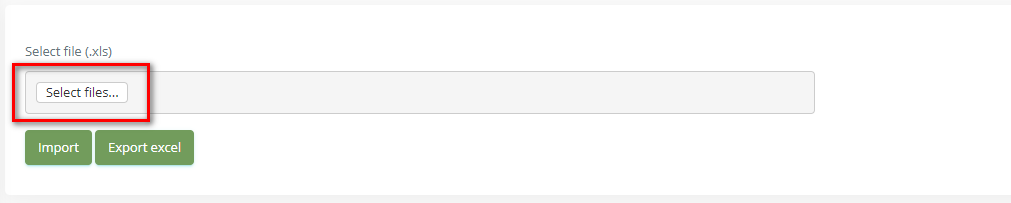
- To import data from excel file:
- At select file (.xls) label, click Select files button.
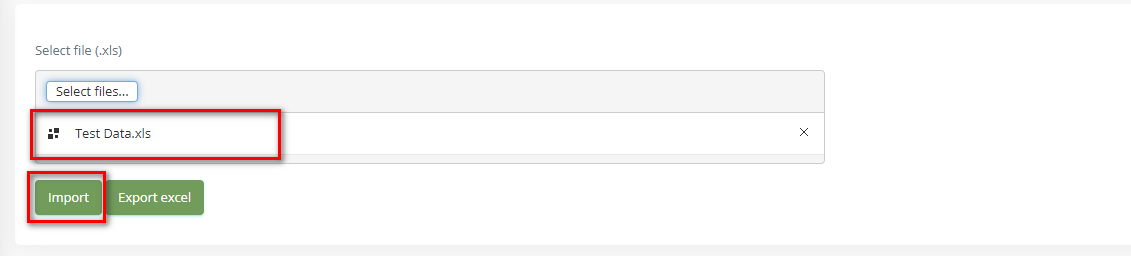
- Select an excel file that you want to import and click Open button.

- Click the Import button.
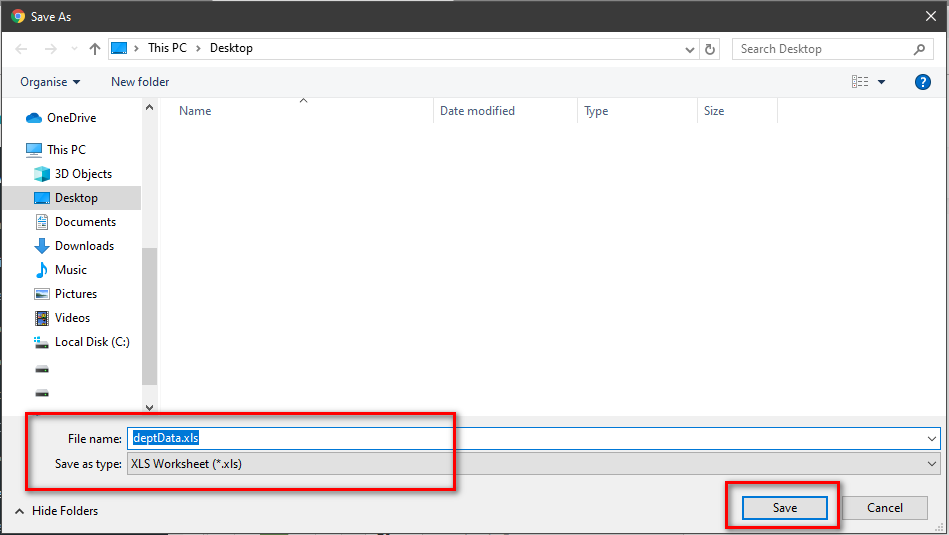
- To export data from excel file:
- On the page below, click the Export Excel button.

- Check the File Name (default page name), Save as type (*XLS file). Then click Save button.
Related articles