Configuration for a new agent from Primas Web Application
Logging on to LinkScope Web Application
The LinkScopeWeb management interface is browser-based and available to any user that is on the network physically or virtually (VPN)
It can be accessed by opening a browser and entering the following URL http://YOUR-SERVER-NAME/LinkScopeWeb
Upon first opening, you will be presented with a login (Please contact Primas or your support team for the username and password)
Step-by-step guide
Step 1: Add an Agent
An Agent ID is an Avaya Agent Login ID. To add an agent ID into LinkScope Web Application, perform the following steps:
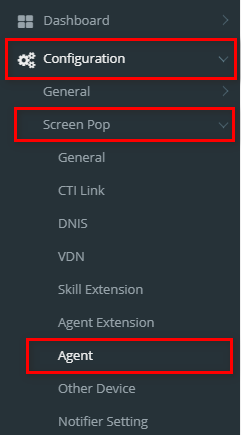
- While logged into LinkScopeWeb, navigate to the following: Configuration → Screen Pop→ Agent.
- Click
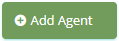 button . the Add popup is displayed.
 - At the Add popup, you enter Agent ID, Agent Name, Agent Password, and select Agent Skill, Role.
- Then click
 button.
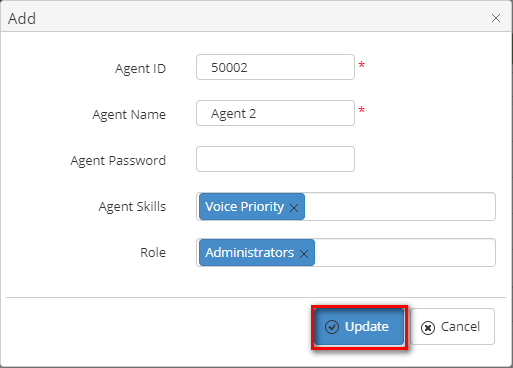
If the system shows this message, you created successfully a new Agent.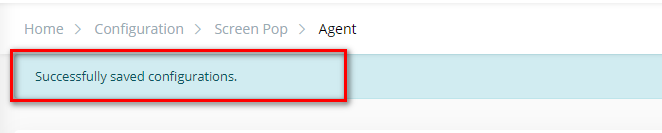
Step 2: Add an Agent Extension
The Agent Extension is an Avaya Station ID (or Position ID). In order to add an agent extension into LinkScope Web Application, perform the following steps:
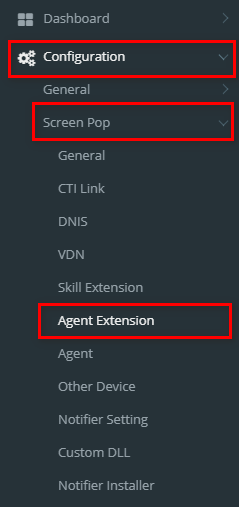
- While logged into LinkScopeWeb, navigate to the following: Configuration → Screen Pop→ Agent Extension.
- Click
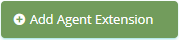 button, the Add popup is displayed.
 - At the Add popup, you enter Extension, Phone Number and select Extension Type, Role, Registered(Y/N), Allow Remote Login(Y/N), Enable WebRTC(Y/N).
- Then click
 button.
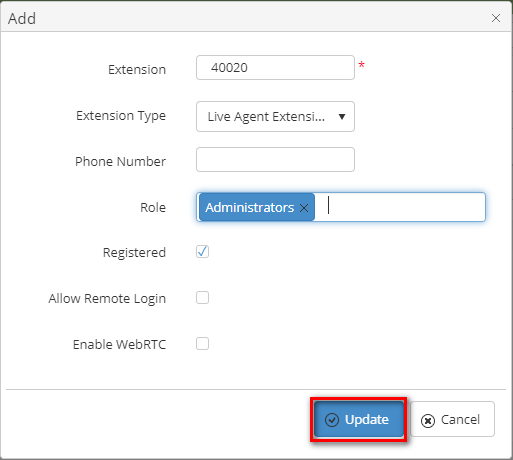
If the system shows this message, you created successfully a new Agent Extension.
Step 3: Add the VDN
The VDN is...
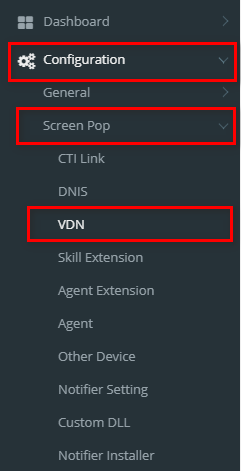
- While logged into LinkScopeWeb, navigate to the following: Configuration → Screen Pop→ VDN.
- Click
 button . The Add popup is displayed.
 - At the Add popup, you enter VDN, VDN Name, Route to Next VDN and select VDN Type, Associated DNIS, Language, Survey Number, Actual Queue, Media Type, Role.
- Then click button.

If the system shows this message, you created successfully a new VDN.
Step 4: Add the Skill Extension
The Skill Extension is...
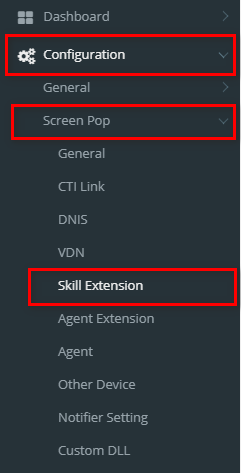
- While logged into LinkScopeWeb, navigate to the following: Configuration → Screen Pop→ Skill Extension.
- Click
 button, the Add popup is displayed.
 - At the Add popup, you enter Skill Extension, Name, Skill ID and select Type, Role, Registered (Y/N).
- Then click
 button.
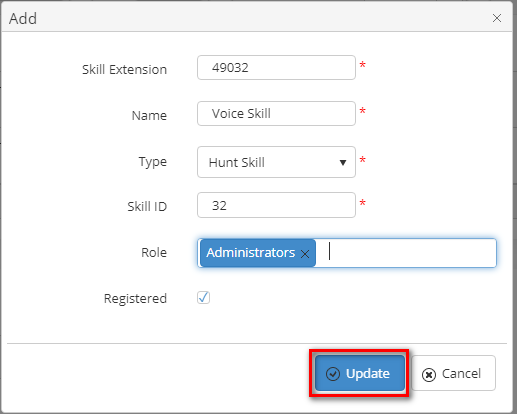
If the system shows this message, you created successfully a new Skill Extension.