Configuration for a new agent from Primas Web Application
Logging on to LinkScope Web Application
The LinkScopeWeb management interface is browser-based and available to any user that is on the network physically or virtually (VPN)
It can be accessed by opening a browser and entering the following URL http://YOUR-SERVER-NAME/LinkScopeWeb
Upon first opening, you will be presented with a login (Please contact Primas or your support team for the username and password)
Step-by-step guide
Step 1: Add an Agent Extension
The Agent Extension is an Avaya Station ID (or Position ID). In order to add an agent extension into LinkScope Web Application, perform the following steps:
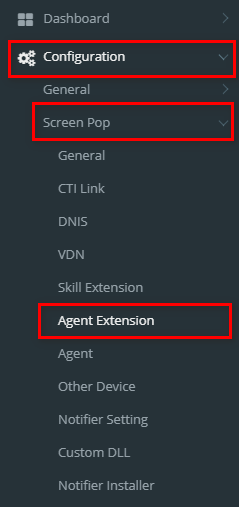
- While logged into LinkScopeWeb, navigate to the following: Configuration → Screen Pop→ Agent Extension.
- Click
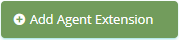 button, the Add popup is displayed.
 - At the Add popup, you enter Extension, Phone Number and select Extension Type, Role, Registered(Y/N), Allow Remote Login(Y/N), Enable WebRTC(Y/N).
- Then click
 button.
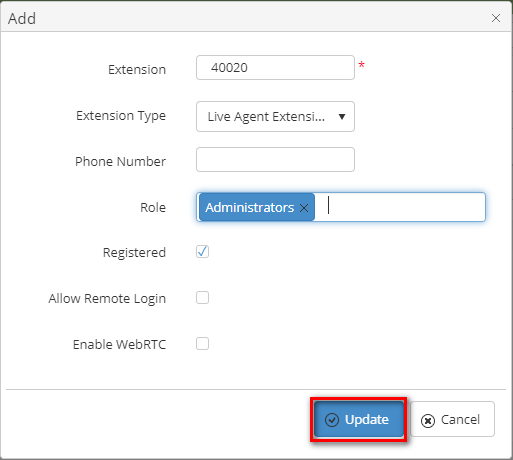
If the system shows this message, you created successfully a new Agent Extension.
Note:
- Select Extension Type "Live Agent Extension".
- Tick on the "Registered" checkbox.
Step 2: Add an Agent
An Agent ID is an Avaya Agent Login ID. To add an agent ID into LinkScope Web Application, perform the following steps:
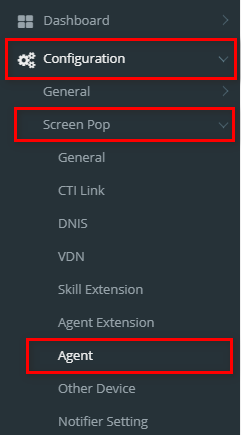
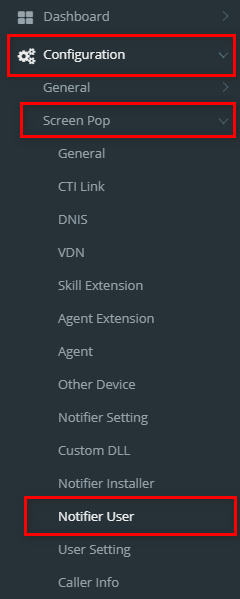
- While logged into LinkScopeWeb, navigate to the following: Configuration → Screen Pop→ Agent.
- Click
 button . the Add popup is displayed.
 - At the Add popup, you enter Agent ID, Agent Name, Agent Password, and select Agent Skill, Role.
- Then click
 button.
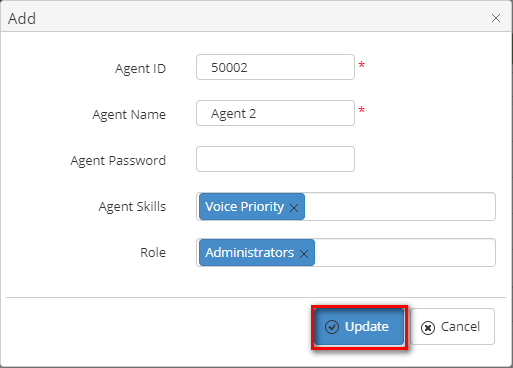
If the system shows this message, you created successfully a new Agent.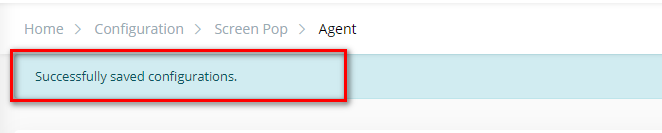
Step 3: Add a Notifier User
Notifier account is used to login from LinkScope Notifier at Agent's desktop PC to receive screen pop.
- While logged into LinkScopeWeb, navigate to the following: Configuration → Screen Pop→ Notifier User.
- Click
 button . The Add popup is displayed.
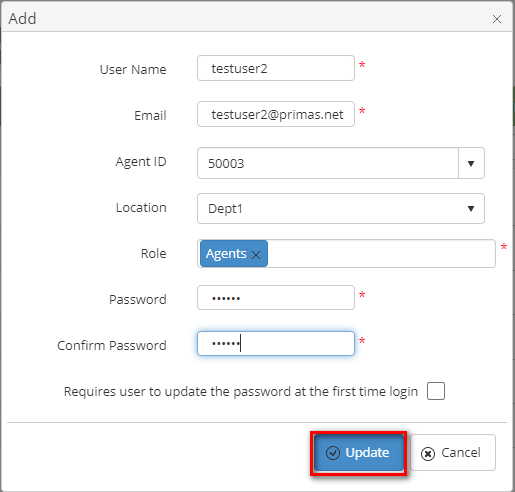
 - At the Add popup, you enter User Name, Email, Password, Confirm Password and select AgentID, Location, Role.
Checkbox "Requires user to update the password at the first time login": If this box is checked, the user must change their password the first time they log in. - Click button.
If the system shows this message, you created successfully a new Notifier User.
Step 4: Add a VDN
The VDN is...
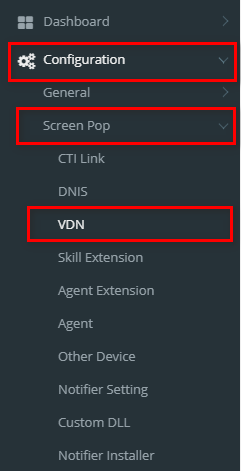
- While logged into LinkScopeWeb, navigate to the following: Configuration → Screen Pop→ VDN.
- Click
 button . The Add popup is displayed.
 - At the Add popup, you enter VDN, VDN Name, Route to Next VDN and select VDN Type, Associated DNIS, Language, Survey Number, Actual Queue, Media Type, Role.
- Then click button.

If the system shows this message, you created successfully a new VDN.
Step 5: Add a Skill Extension
The Skill Extension is...
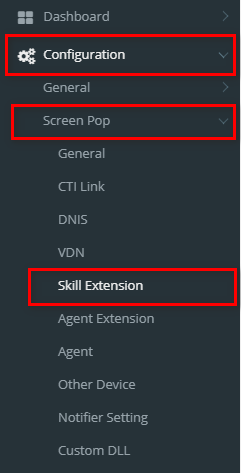
- While logged into LinkScopeWeb, navigate to the following: Configuration → Screen Pop→ Skill Extension.
- Click
 button, the Add popup is displayed.
 - At the Add popup, you enter Skill Extension, Name, Skill ID and select Type, Role, Registered (Y/N).
- Then click
 button.
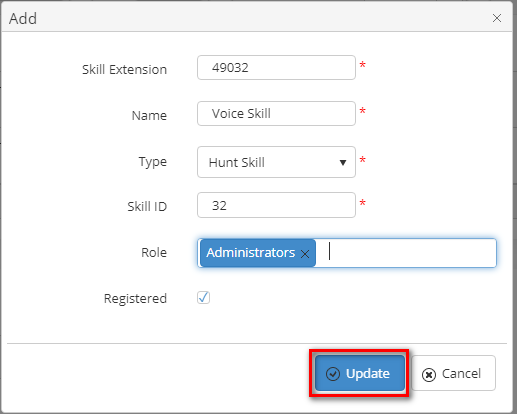
If the system shows this message, you created successfully a new Skill Extension.
Work with LinkScope Notifier to receive Screen Pop
Launch LinkScope Notifier
- Agents can now access their LinkScope Notifier client by double-clicking the new icon on their desktop.

- When opened for the first time the agent should see the following. (All log on fields should be empty).

Double-check the screen pop plugin
Linkscope Notifier needs a plugin to show screen pop. Normally, this configuration already set by the IT team.
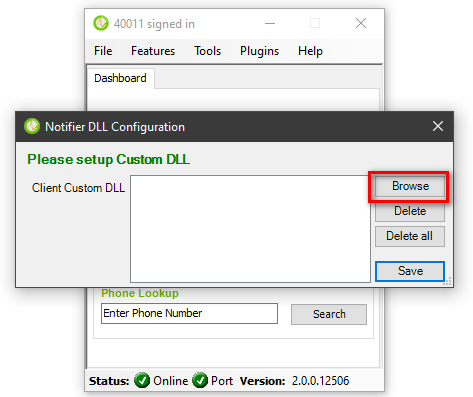
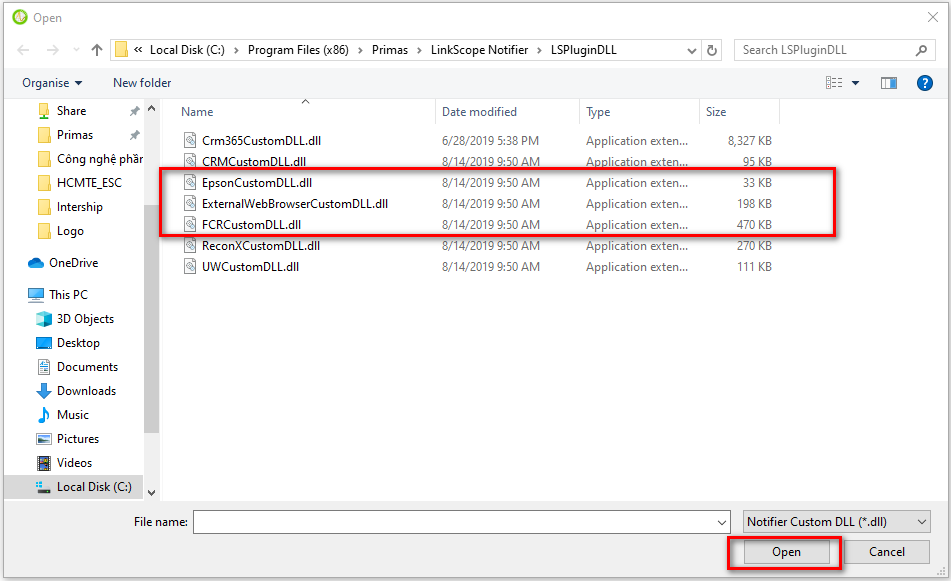
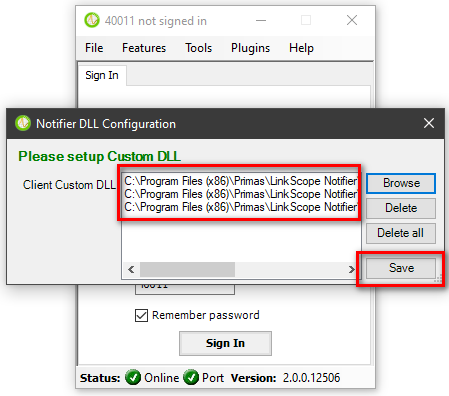
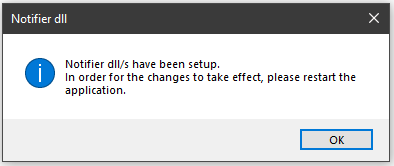
From LinkScope Notifier, click on the menu Plugins → Notifier Plugin Configuration. 2. You will see Notifier DLL Configuration dialog appear on screen. Click Browse button. 3. Select DLL that you want to import and click Open button. 4. Click Save button. 6. The application displays response message that’s your DLLs have been setup and you need to restart Notifier. Click OK button and restart Notifier.
We should double-check that the plugin has been selected for Notifier.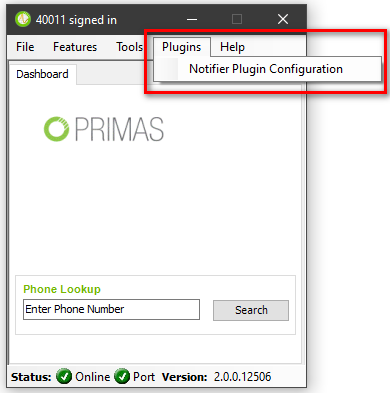
Double-check the LinkScope Application Service Host
Linkscope Notifier needs to know the Application server to receive screen pop from the server. Normally, this configuration already set by the IT team.
- Run Notifier with Administrator privilege
- Go to menu Tools -> Options.
In General tab, enter the server name or server IP and port into box Primas CX Server with the following format: ServerName:Port (Default service port is 8080).
We should double-check that a correct server IP or server name has been entered for Notifier.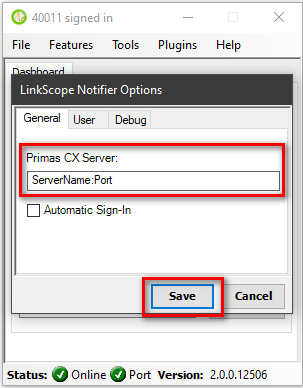
- Click Save button
Sign in to LinkScope Notifier
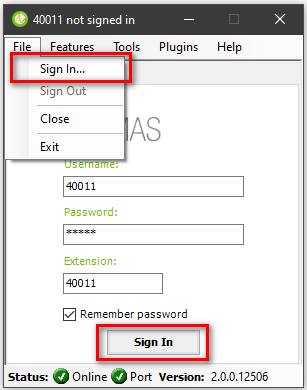
The agent needs to sign in into LinkScope Notifier to receive a screen pop.
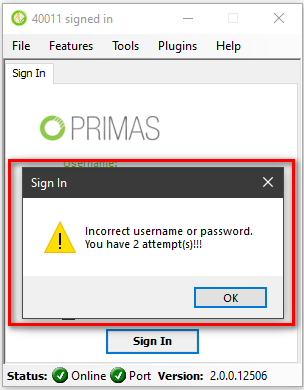
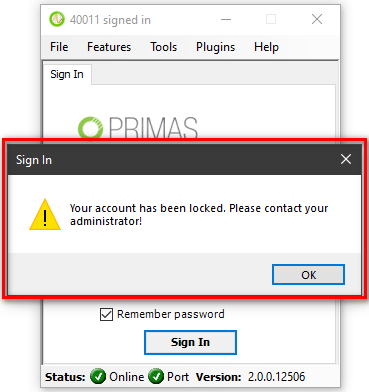
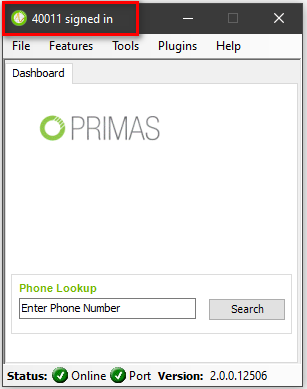
2. Click Sign In button or select File → Sign In...The application is verifying your input. If your input is incorrect, Notifier will show an error message. If Notifier shows this message, your account might have been locked. By the way, you cannot enter. Please contact your administrators. 3. After sign in successfully, agents' status is displayed [Agent id] signed in.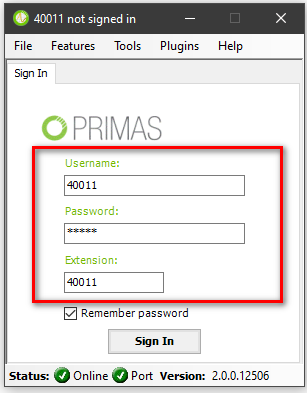
If everything is set up correctly when a call rings to the agent, the agent should see a screen pop as the capture below:

Note:
Upon reopening Notifier, agents will discover that their credentials have been saved and that they can simply click Sign In without having to re-enter their credentials and Extension.
Sign out from LinkScope Notifier
In order to exit the Notifier client, select File → Exit.

Note:
Upon reopening Notifier, agents will discover that their credentials have been saved and that they can simply click Sign In without having to re-enter their credentials and Extension.
APPENDIX
HCA server information (updated to 07/09/2019)
| Site | Server name | Server IP | LinkScope WebApp |
| Orange Park | XRPSWPAPPPLS01a | 10.0.164.161 | http://XRPSWPAPPPLS01a/LinkScopeWeb |
| Nashville | FWPSWPAPPPLS01a | 10.64.72.161 | http://FWPSWPAPPPLS01a/LinkScopeWeb |
| Richmond | FWPSWPAPPPLS01b | 10.64.72.163 | http://FWPSWPAPPPLS01b/LinkScopeWeb |
| Tampa | FWPSWPAPPPLS01c | 10.64.72.165 | http://FWPSWPAPPPLS01c/LinkScopeWeb |
| Houston | FWPSWPAPPPLS01d | 10.64.72.167 | http://FWPSWPAPPPLS01d/LinkScopeWeb |
| San Antonio | XRPSWPAPPPLS01b | 10.0.164.163 | http://XRPSWPAPPPLS01b/LinkScopeWeb |
| Dallas | XRPSWPAPPPLS01c | 10.0.164.165 | http://XRPSWPAPPPLS01c/LinkScopeWeb |