Step-by-step guide
- Go to Linkscope Web application and if you're not already signed in, select Sign in.
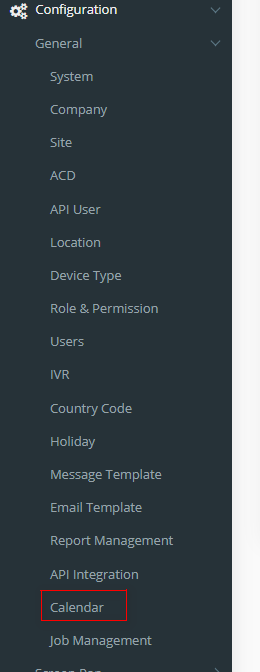
- From the Linkscope Web application, you click to Configuration →General→ Calendar at the menu.
Note: With the Administrator role, you will see all calendars and full functionality. With other roles, you will only see assigned calendars and do not have the rights: add/edit/delete/duplicate calendar
ADD A NEW CALENDAR
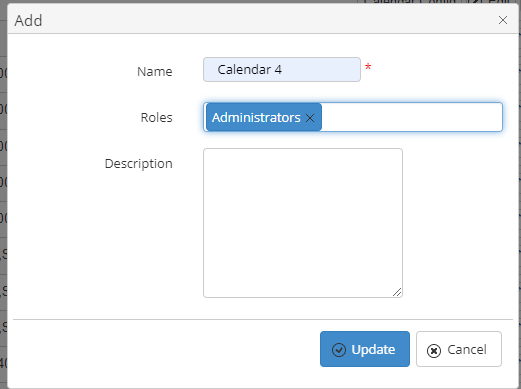
Allow Administrator to set roles to access calendar:
- Click button . The Add popup is displayed.
2. At the Add popup, you enter Name and Description fields.
3. Then click button.
If the system shows this message, you created successfully a new Calendar.
EDIT A CALENDAR
- On the Calendar List table, select any row you want to edit the Calendar.
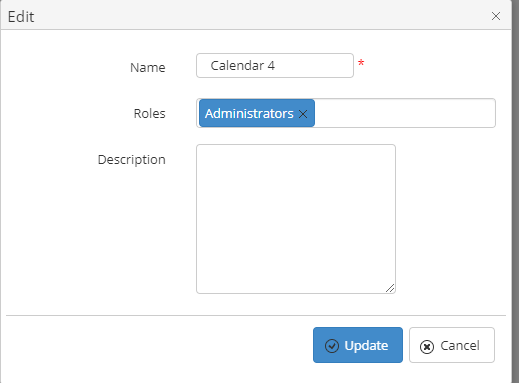
2. Click button on that row. The Edit popup is displayed.
3. At Edit popup, you modify new Name and Description. Then click the button.
If the system shows this message, you edited successfully a Calendar.
DUPLICATE A CALENDAR
- On the Calendar List table, select any row you want to duplicate the Calendar.
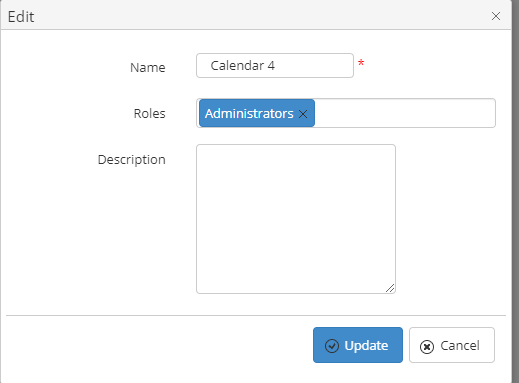
2. Click button on that row. The Duplicate popup is displayed.
3. At Duplicate popup, you modify new Name and Description. Then click the button.
If the system shows this message, you duplicated successfully a Calendar.
- On the Calendar List table, select any row you want to delete the Calendar.
2. Click button on that row.
3. There're alert displays after you click to this button. Select OK.
If the system shows this message, you deleted successfully a Calendar.
SEARCH A CALENDAR
On the Calendar List table. You can search for a Calendar by searching the Name and Description.
- Search by the Name field:
2. Search by the Description field:
CONFIG A CALENDAR
- On the Calendar List table, select any row you want to config the Calendar Config
2. Click on button. The Calendar screen will move to The Calendar Config screen.
ADD A NEW CALENDAR CONFIG
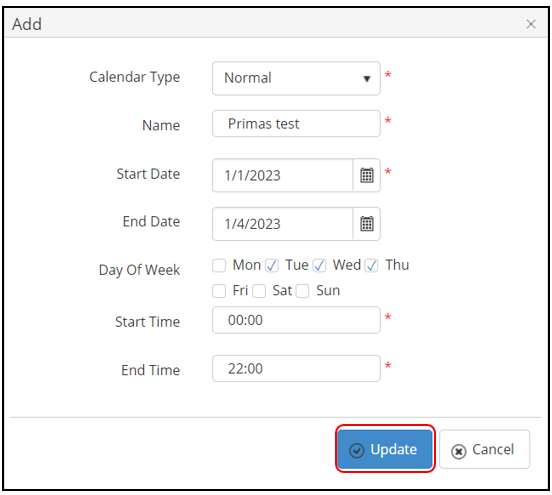
- Click button . The Add popup is displayed.
2. At the Add popup, you select Calendar Type, enter Name, Start Time, End Time and select Start Date, End Date, Day Of Week fields.
3. Then click button.
If the system shows this message, you created successfully a new Calendar Config.
EIDT A CALENDAR CONFIG
- On the Calendar Config List table, select any row you want to edit the Calendar Config.
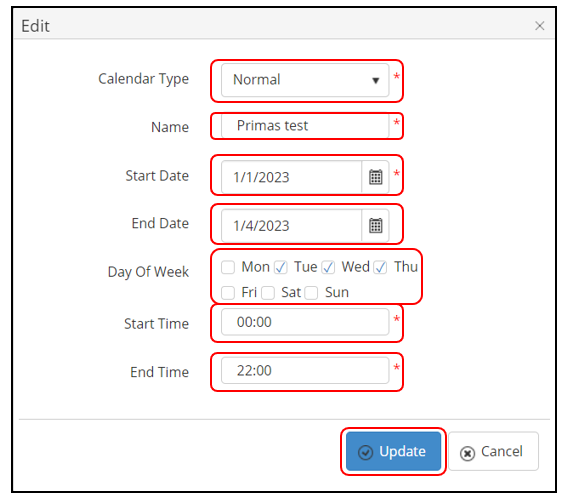
2. Click button on that row. The Edit popup is displayed.
3. At Edit popup, you modify new Name, Start Time, End Time and select Calendar Type, Start Date, End Date, Day Of Week fields. Then click the button.
If the system shows this message, you edited successfully a Calendar Config.
DUPLICATE A CALENDAR CONFIG
- On the Calendar Config List table, select any row you want to duplicate the Calendar Config.
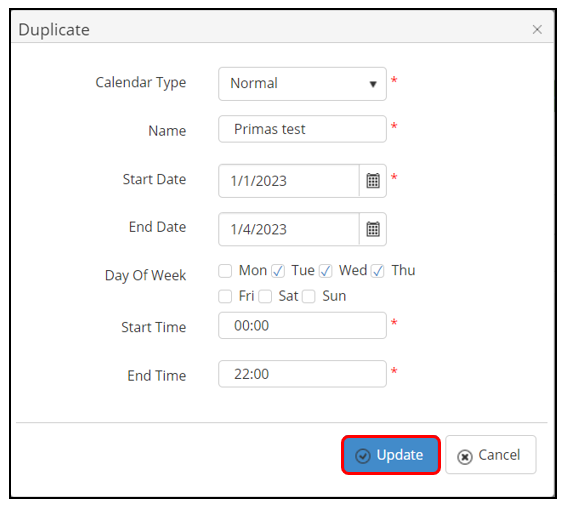
2. Click button on that row. The Duplicate popup is displayed.
3. At Duplicate popup, you modify new Name, Start Time, End Time and select Calendar Type, Start Date, End Date, Day Of Week fields. Then click the button.
If the system shows this message, you duplicated successfully a Calendar Config.
DELETE A CALENDAR CONFIG
- On the Calendar Config List table, select any row you want to delete the Calendar Config.
2. Click button on that row.
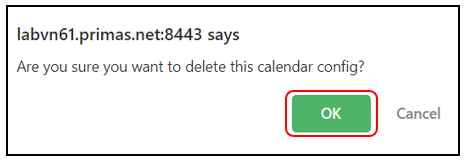
3. There're alert displays after you click to this button. Select OK.
If the system shows this message, you deleted successfully a Calendar Config.
SEARCH A CALENDAR CONFIG
On the Calendar Config List table. You can search for a Calendar Config by searching the Name, Calendar Type and Days.
- Search by the Name field:
2. Search by the Calendar Type field:
3. Search by the Days field:
