From the Linkscope Web application, you click to Configuration → FreedomQ → FQ Config at the menu.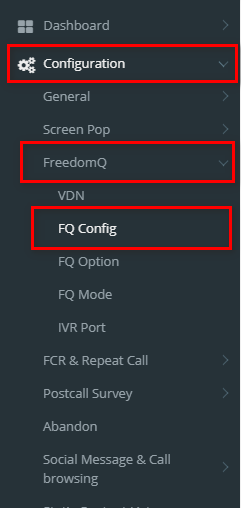
From the Linkscope Web application, you click to Configuration → FreedomQ → FQ Config at the menu.
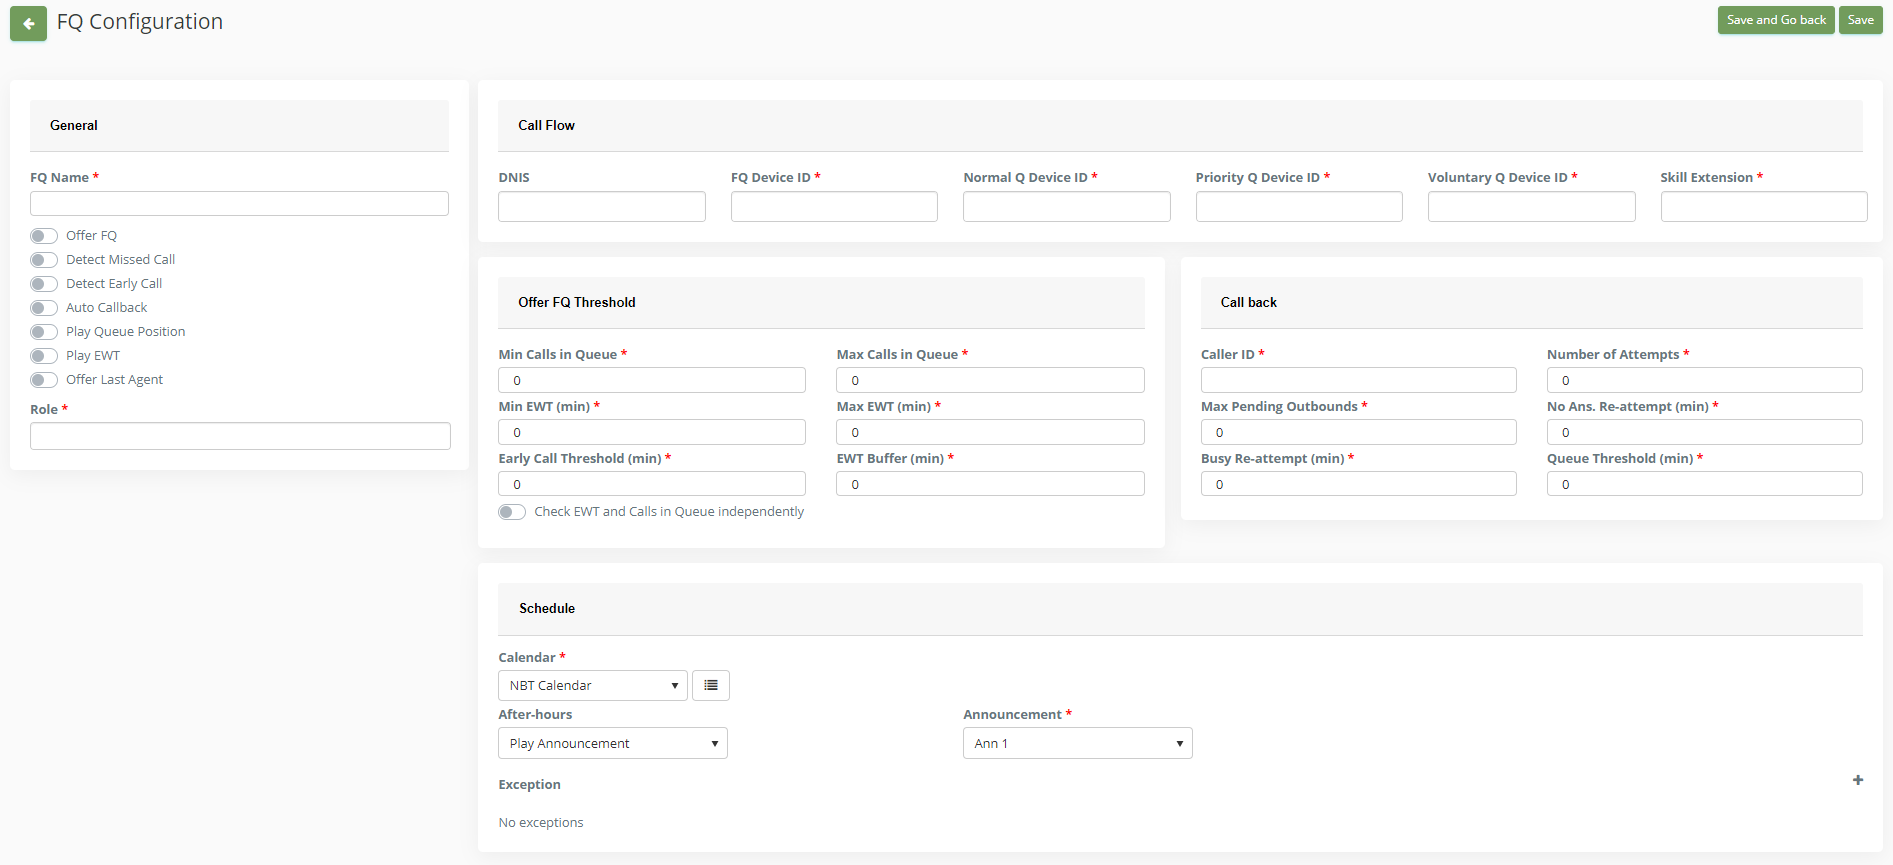
If the system shows the message "Successfully saved configurations.", you created successfully FQ Config.
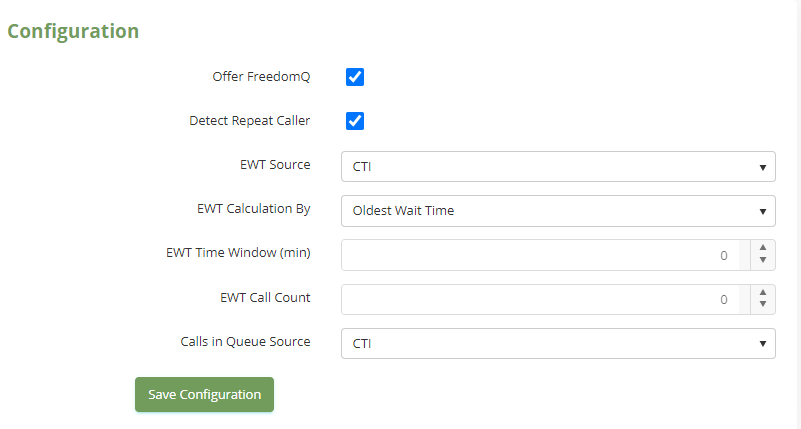
General Configuration (this section only needs to configure once and for a technical person only)
Offer FreedomQ: Turn on/off FQ Offer feature for all queues.
EWT Source: This indicates that the system will get the queue wait time information from CTI message calculation, or from CM integration.
EWT Calculation By: Choose the calculation algorithm for the system to estimate the wait time. It can use the AVG wait time or the Oldest call wait time. If EWT Source = CM, EWT Calculation By is always the Oldest call wait time.
EWT Time Window (min): If EWT Source = CTI and EWT Calculation By = AVG Wait Time, this value tells the system the time window that the system will calculate the wait time for the calls that already went out of queue within this time window.
EWT Call Count: If EWT Calculation = AVG Wait Time, this will tells the system how many last calls already went out of the queue that it will use to calculate AVG wait time.
Calls in Queue Source: This indicates that the system will get the calls in queue information from CTI message calculation, or from CM integration.
If you select EWT Source = CM, you need to config integrate with OSSI at Configuration → Screen Pop → CTI Link page. Tick the check box "Integrate CM API". CM API URL: The API URL to integrate with CM. Delay In Millisecond Between CM Requests: When the system sends requests to the OSSI API, it will set a delay between the requests. Remove Unstaffed Agents: When the system sends a request to CM API for queue information and the API returns the list of logged-in agents, should the system remove the agents that are not in this list from the agent logged-in list in the system? |

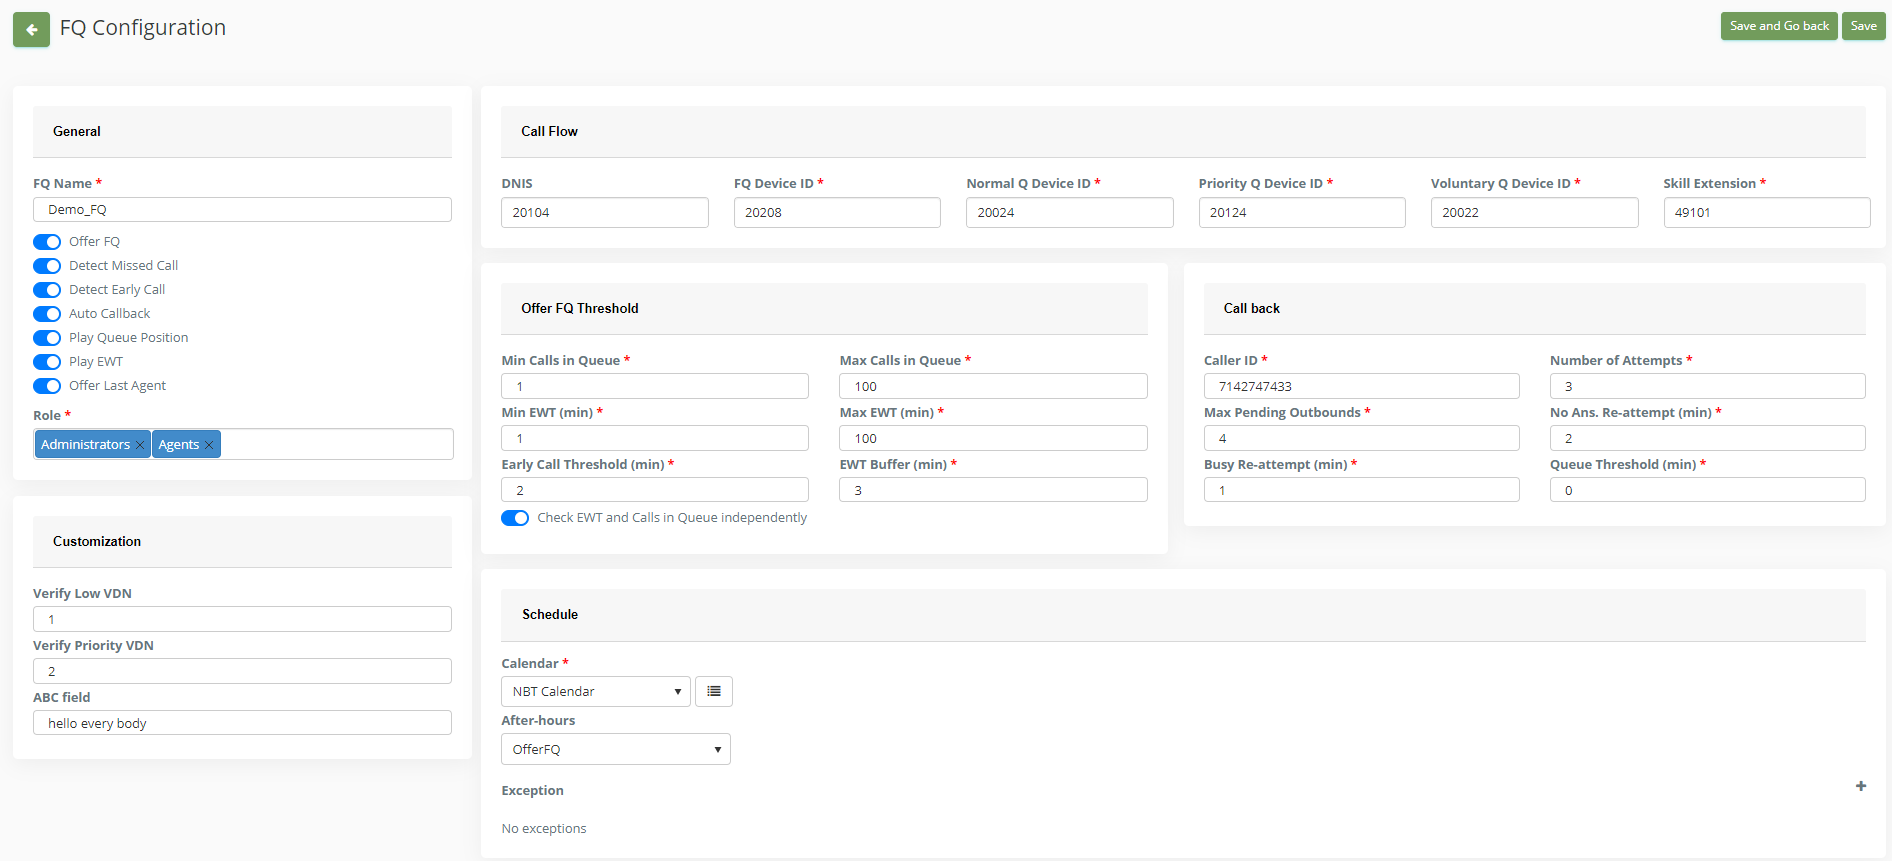


| You may also want to use visual panels to communicate related information, tips or things users need to be aware of. |
Related articles appear here based on the labels you select. Click to edit the macro and add or change labels.
Primas CX 2020 - Primas CX FreedomQ Quick Start Guide
|