This guideline will help you configure the Web Notifier in WebApp. There are four main parts:
Part 1. Web Plugin configuration
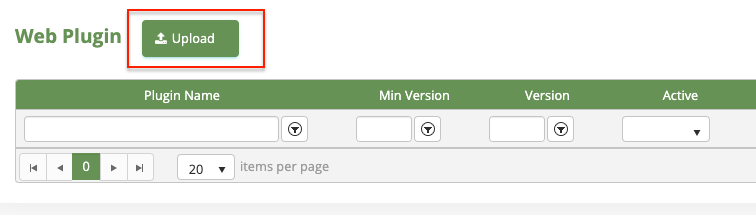
The main configuration which decides the Screen-pop will show to the agent or not is the Web Plugin configuration. The configuration is placing in Configuration/Screen Pop/Web Plugin of the SiteMap tree.

To upload or update a version of Web Plugin, you should do these following steps:
Step 1: Upload the web plugin.
The default active configuration after uploading the new web plug-in is INACTIVE with the red circle.
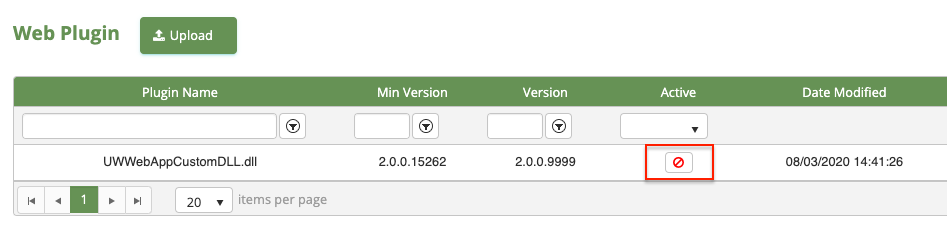
If the web plug-in state is in the INACTIVE state, the Web Notifier will have NO action for this Web Plugin.
NOTE: The default active configuration after uploading the new web plug-in is INACTIVE
The valid web plugin must follow these following rules:
- A plugin in DLL form which was created with the guideline in Primas confluence.
- If you uploaded the DLLs which was existed in the system, the only case that was accepted is the DLLs that have the higher version tag.
- If you upload the DLLs which is generated in the MVC framework to the system. The Primas CX will die. (See how to fix it).
- DO NOT change the name of the DLLs manually, it will break the web application same as case 3.
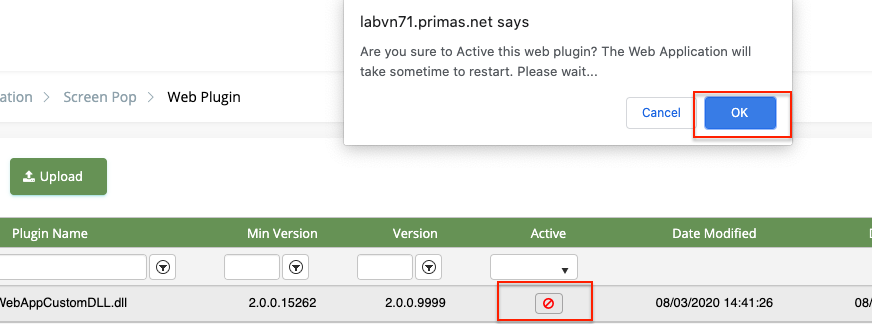
Step 2: Active the Web Plugin.
Click to the icon in the Active column, then confirm. It will take a while to restart the web application.
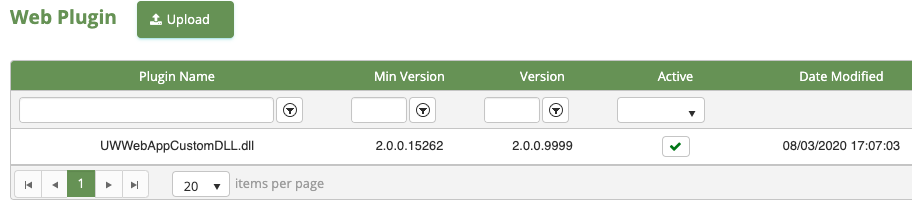
After a minute, the active state turns to ACTIVE with a green check.
Step 3: Configuration for the Web Plugin.
You have to admit that though the Web Plugin is in the ACTIVE state still not work if they do not have the right configuration.
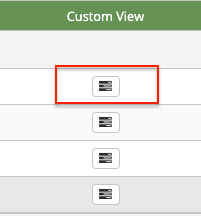
To move forward to the main configuration menu for the Web Plugin, click to the setting icon at the end of every line of the Web Plugin grid.
The configuration user interface will be looked like the following description.
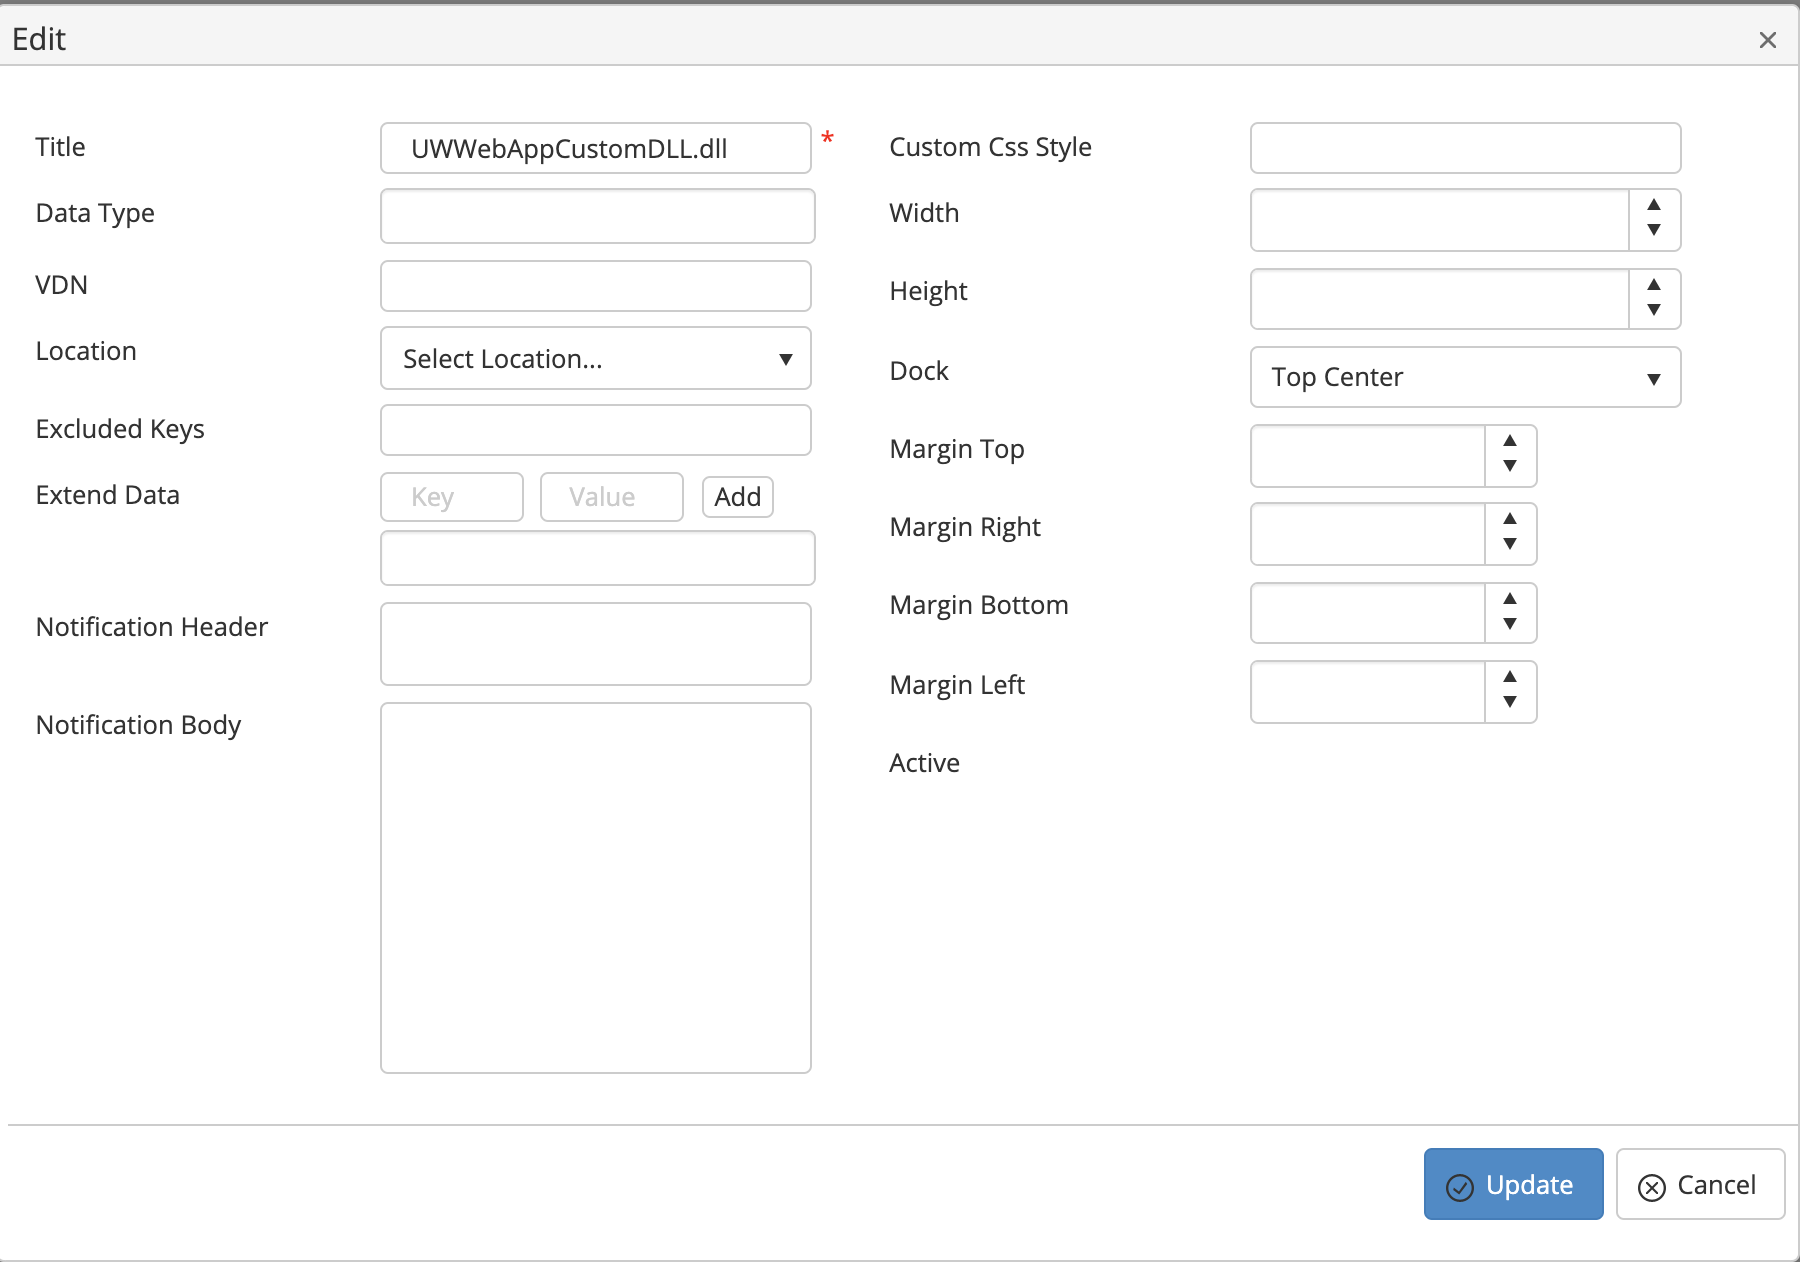
The following description will be ordered from the highest to the lowest important configuration level.
a. Web Plugin detection
There are three fields being the most important condition which decide the Web Notifier uses this Web Plugin or not?
- Datatype (Multiple values):
Usage: Web Notifier will use this to detect will this extension will be used for the incoming message.
True condition: One of the values in this field must be matched with the value of datatype keypair.
- VDN (Multiple values):
Usage: Web Notifier will use this field to detect will that Web Plugin applies for the incoming message.
True condition:
+ One of the values in this field must be matched with the value of vdn keypair.
+ Empty field.
- Location (Unique values):
Usage: Web Notifier will use this field to detect will that Web Plugin applies for the agent logged-in or not by location (dept)
True condition:
+ The department or location in the field must be matched with the location/department of the agent login.
+ Empty field.
NOTE: The configuration of three fields above must be met with the true condition, the action for the plugin will be activated.
b. Notification detection
- Notification Header: This should be the header of the windows notification.
Example: New call from {ANI}
The phase with {KEY_PAIR} pattern will be replaced by the value of this key pair in the message. Notification Body: This should be the body of the windows notification
Example: Call from {FirstName} - {LastName}
NOTE: The notification will NOT show if one of the two fields is blank.
c. User interface configuration
- Custom CSS Style: This field was used to add some basic custom CSS for IFRAME like background, color.
- Width: Decide the width in pixel of the Screen-Pop
- Heigh: Decide the height in pixel of the Screen-Pop
- Dock: Decide which position on the screen the Screen-Pop will show up.
- Margin-Top The custom spacing from the dock to the top of the screen pop.
- Margin-Left The custom spacing from the dock to the left of the ScreenPop.
- Margin-Right The custom spacing from the dock to the right of the ScreenPop.
- Margin-Bottom The custom spacing from the dock to the bottom of the screen pop.
- Title: The title of the screen-pop header bar.
Step 4: Upload the Custom View (Optional).
Click to the Custom View button to move toward to the Custom View Screen
These images below are the main screen of the Custom View Screen.
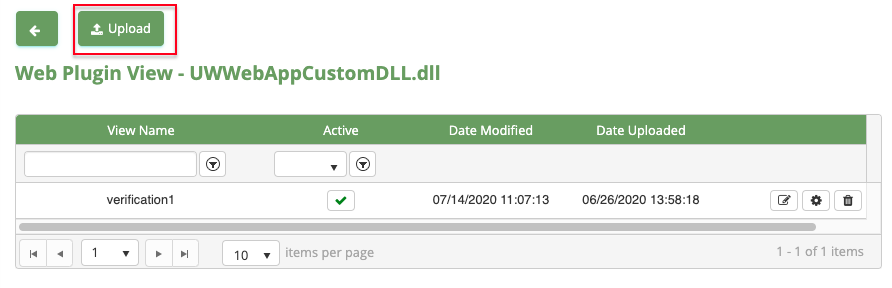
To upload the Custom View for a Web Plugin, please click on the upload button.
NOTE:
- The valid customView must be the file in CSHTML form.
- The default active status is INACTIVE. If you want to use the CustomView, please turn the status to ACTIVE.
- A web plugin was not limited by the number of custom view, each custom view should have their own unique Datatype
Step 5: Configure the Custom View (Optional).
The configuration of the custom view is the same as the configuration of the Web Plugin in step 3. But in this screen, you can directly change the View Name or copy the configuration from the parents.
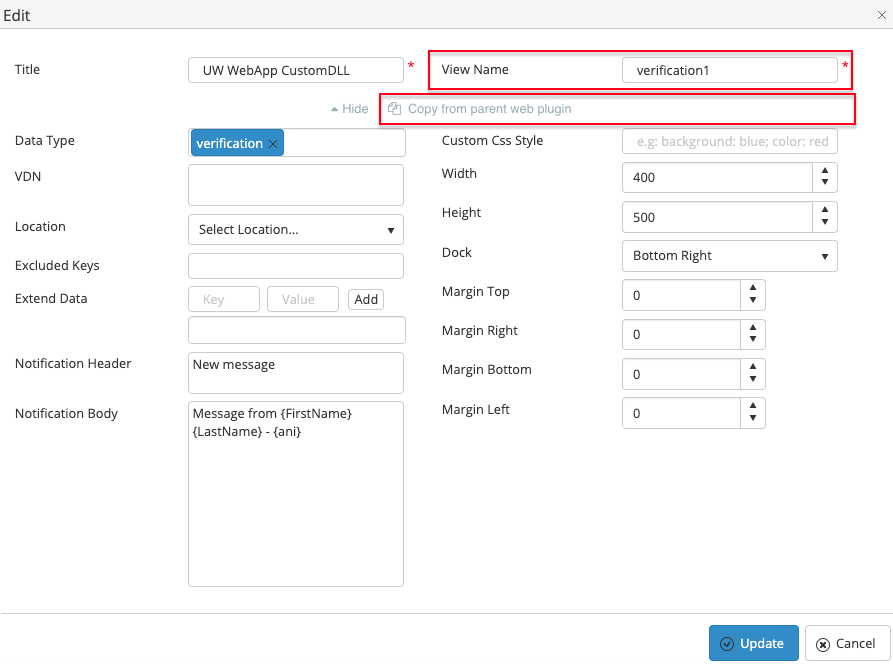
NOTE: There is a really important condition that makes the configuration of a custom view to meet the true condition is the datatype, VDN, and Location values.
The datatype must be MATCHED with the datatype keypair and this value must have EXISTED in parents datatype.
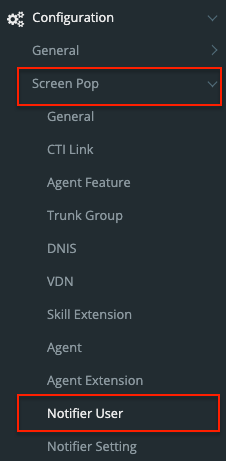
Part 2. Notifier user setting
The Notifier user configuration is placing in Configuration/Screen Pop/Notifier User of the SiteMap tree.
The configurations of the Notifier user which apply for the Web Notifier are in the red box.
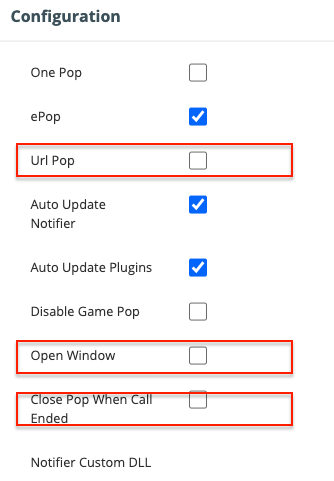
Url Pop: open the CRM popup
Open Window: Open the screen-pop to be a window or a frame on the screen.
Close Pop When Call End: When the call was ended, the screen-pop will be closed.
Part 3. Mail portal auto-login setting
The Email portal will not be logged in automatically with the contact config by the default configuration.
We can decide the auto-login feature can apply to every contact config level.
This configuration will help the administrator assign the auto-login will apply for the special or not. If you want a quick setting auto-login for the whole system, there will be another way in the next session below.
To allow auto-login for the contact config.
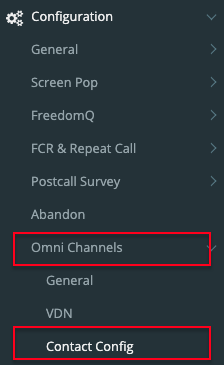
Move to the Contact Config Screen which placing on Configuration/Omni Channels/Contact Config of the SiteMap tree.
Choose a contact config with the EM contact type.
Add a key AutoLoginWebMail as a new config name.
The valid value could be True or Yes.

Then that mail portal would be logged-in automatically in the pop.
Part 4. Configuration troubleshooting.
In this part will answer some common case when the screen-pop do not show up.